
I only refer to the original resources of the designer. So, the pattern type is variable (video, written or both may be available!)
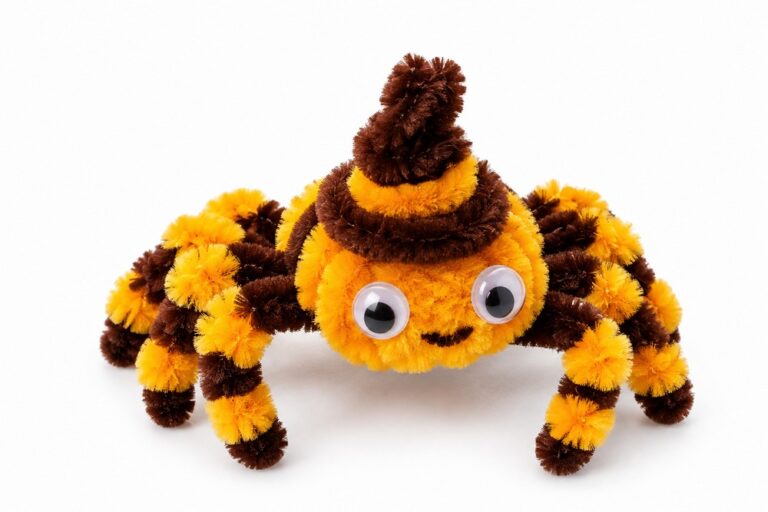
Mini Leggy Spider Plushie Made Using Pipe Cleaners
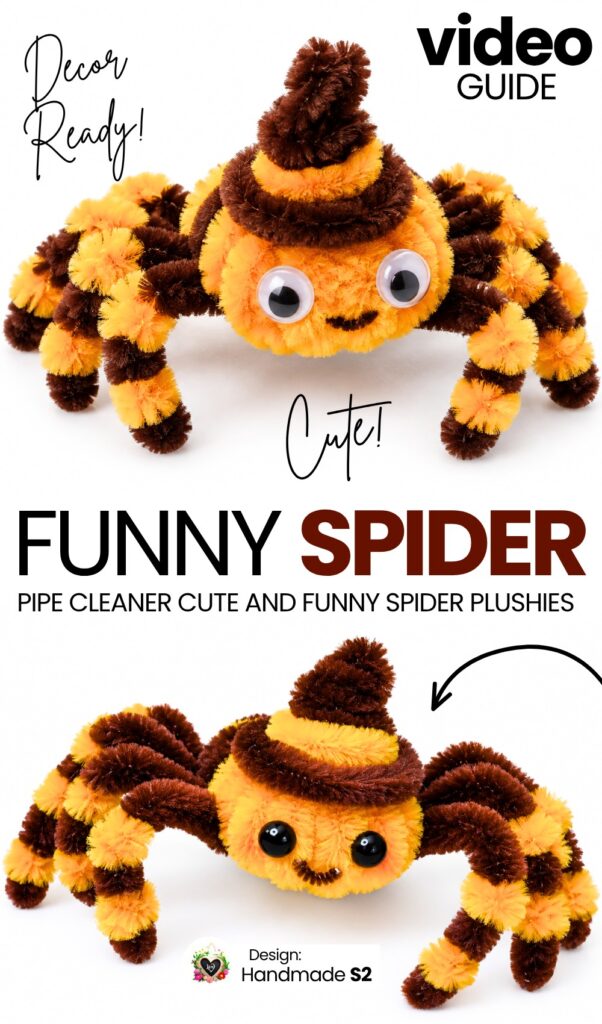
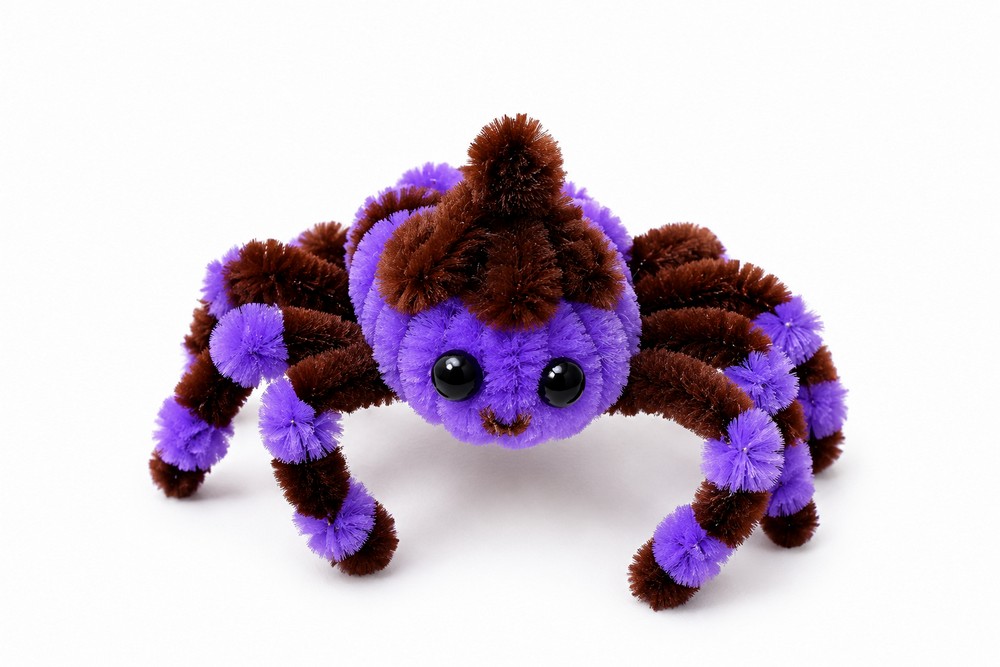
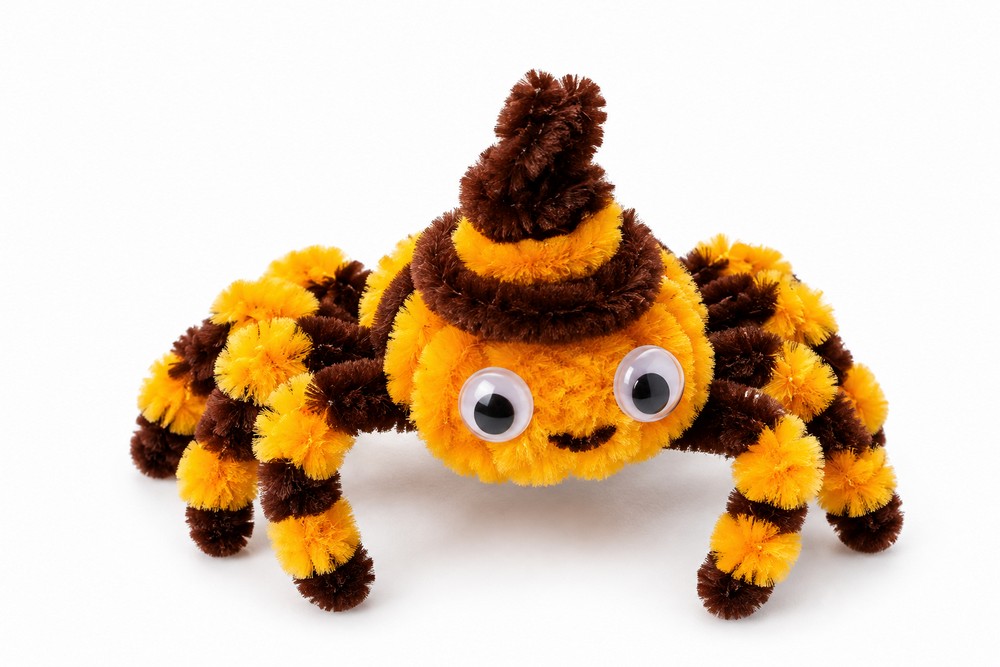
I am back with another oh-so cute DIY pipe cleaner plush spooky desk buddy tutorial! Introducing, the miniature Halloween spider wearing a witch hat using chenille stems (pipe cleaners) that you can learn to make in either brown and yellow combo and the purple. You can also choose from the googly craft eyes and the regular safety beads. The witch hat is super easy to DIY!
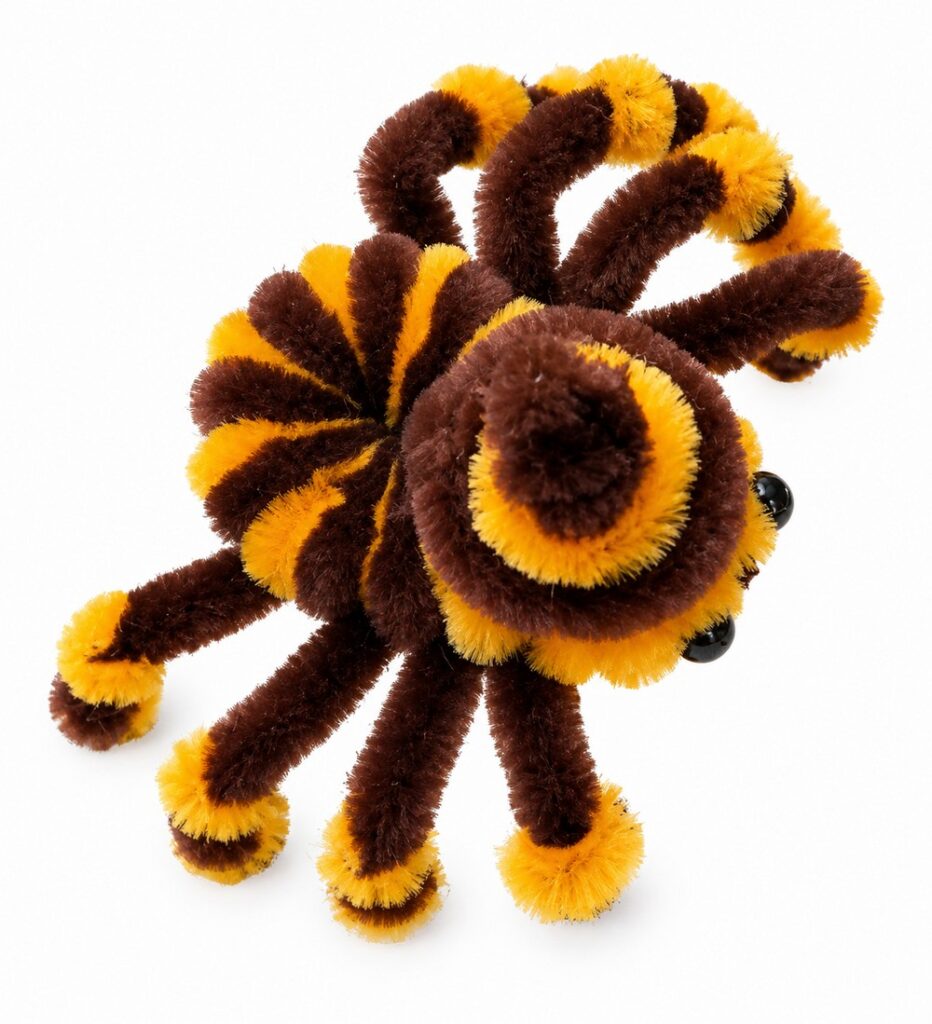
The body is crafted from coiled brown and yellow stems formed into a striped abdomen and solid head.
A miniature witch hat, 6 mm bead eyes, an embroidered mouth, and blushed cheeks are attached with hot glue. The spider is mounted onto eight poseable, striped legs. Now, continue reading for learning more about this super cute Halloween decoration project!
Uses:
-
Halloween desk or tiered tray decorative figurine.
-
Playful ornament for Halloween wreaths, garlands, or gift baskets.
-
Spooky season party favors or handmade gifts.
-
Seasonal craft activity for school or home decoration.
Difficulty Level
Difficulty: Moderate / Intermediate
Why: Although pipe cleaners are easy to manipulate, this craft involves intricate multi-step modeling. It requires winding two strands simultaneously, cinching hollow coils into 3D spheres, assembling tiny components (hat cone, brim, band, facial features), applying precision hot glue, and safely singeing wire fuzz with a lighter.
Materials
-
Brown chenille stems (4 pieces)
-
Yellow chenille stems (3 pieces)
-
Marker pen (used as a thick winding mandrel)
-
Thin rod or stylus
-
Scissors
-
Hot glue gun and glue sticks
-
Two 6 mm black craft eyes
-
Craft tweezers
-
Pink powder blush with a detail brush
- Pocket lighter (for singeing loose fibers)
Learn to Make the Pipe Cleaner Pink Snowflake
Better learn the whole method of making this plush standing spider plush using pipe cleaners in this tutorial:
Step-by-Step Guide
-
Make Head and Body Coils (00:10 – 00:43):
Wrap one yellow chenille stem around a marker pen, compress it into a tight cylinder, and slide it off to form the head. Next, wind one brown and one yellow stem together around the marker to create a dual-colored striped cylinder for the body. -
Assemble the Spider Torso (00:44 – 01:39):
Pass a brown pipe cleaner through the hollow center of the striped cylinder, pull both ends tightly to curl the cylinder into a rounded striped ball, and thread the yellow head coil onto the stems. Twist the brown ends securely around the neck junction, trim excess wire with scissors, and pinch to shape the combined torso. -
Craft the Witch Hat (01:40 – 02:46):
Bend an 8 cm piece of brown stem into a flat circular ring for the hat brim. Coil another brown piece into a pointed miniature cone for the top of the hat. Wrap a short segment of yellow stem around the base of the cone to create a decorative hat band, trimming off excess wire. -
Shape Facial Details (02:47 – 03:00):
Wrap a tiny piece of brown wire around a thin stylus and snip a small curved segment to form a smiling mouth. -
Assemble Head and Face (03:01 – 03:36):
Hot-glue the flat brim onto the top of the yellow head, then glue the pointed cone on top. Use tweezers and hot glue to affix two 6 mm black eyes and the tiny mouth onto the face. Dust pink blush onto both cheeks using a fine brush. -
Form the Eight Legs (03:37 – 04:36):
Fold two long brown pipe cleaners in half twice, cut them into four equal segments, and bundle them together at the midpoint to create eight radiating leg wires (four on each side). Bend each leg into arched knee and foot angles. -
Add Striped Leg Accents (04:37 – 05:18):
Wrap small sections of yellow chenille stem around each of the eight legs to create banded stripes, cutting away the excess. Adjust the leg positions into a balanced stance, then pass a lighter flame over the leg ends for a split second to singe off loose fluff. -
Attach Body and Finalize (05:19 – 05:47):
Apply hot glue to the central joint of the legs and press the assembled spider body firmly on top. Bend the front legs forward and side legs outward so the finished spider stands upright and stable.
Share on Social Media!
Wanna Crochet Something Else?

How to DIY Pipe Cleaner SUPER ELEGANT Corded Loop Pine Cone Ornament for Christmas
Tutorial to DIY Pipe Cleaner Blue and White Tiered Snowflake Ornament
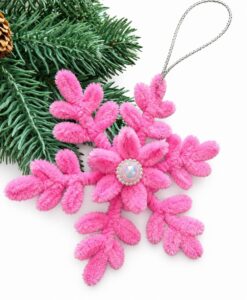
Featuring: Tutorial to DIY Pink Decoration Christmas Pipe Cleaner Beaded Snowflake Ornament
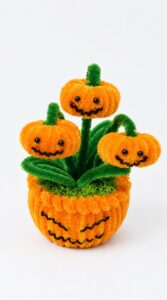
Tutorial to Make Halloween Pumpkin Potted Plant with Cute Smile Plush Decoration
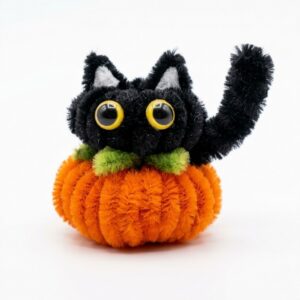
Tutorial to Make A Black Kitty like Orange Plump Pumpkin Plushie Buddy
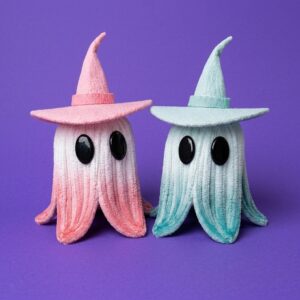
Tutorial to Make Pink Ghost in a Pink Witch Hat Plushie for Kids
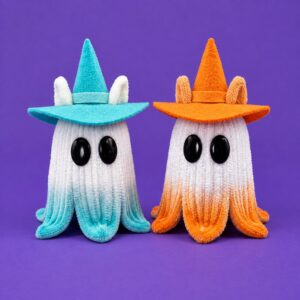
Tutorial to DIY A UNIQUE BOO Ghost in Aqua and Orange Witch Hats
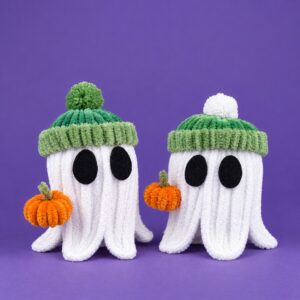
Better Than Crochet: Quick Ghost in Beanies Holding Pumpkin Plushies for Kids
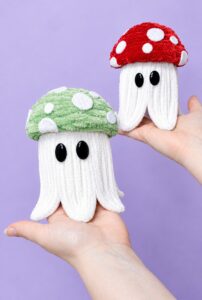
Better Than Crochet: Quick Mushroom Cap Wearing Ghost Plushie for Gifting