


I only refer to the original resources of the designer. So, the pattern type is variable (video, written or both may be available!)
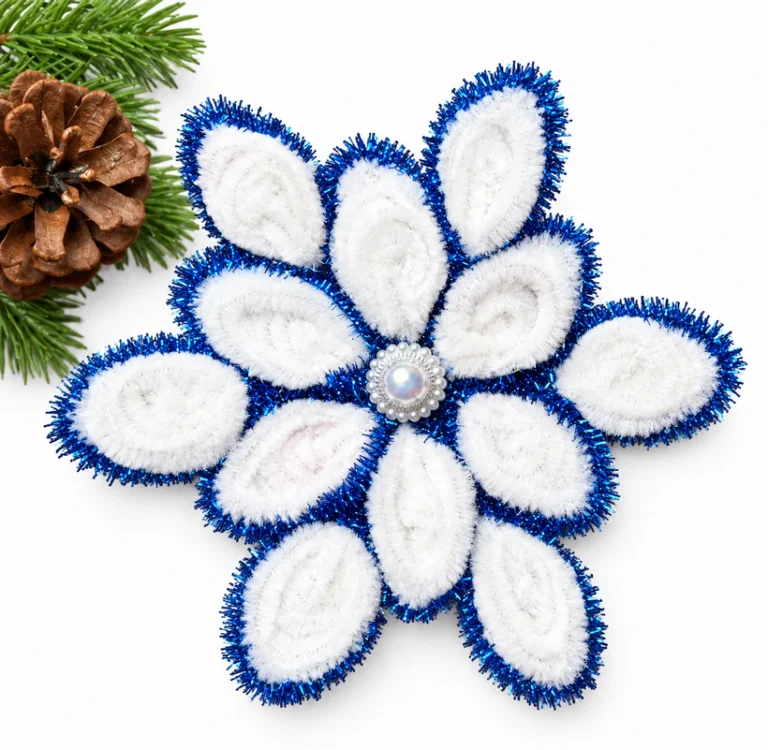
DIY Pipe Cleaner Blue and White Tiered Snowflake Ornament
This the part 2 of our brand-new “DIY fuzzy sticks snowflake and holiday decorations” series! Today, learn how to DIY this pipe cleaner two-tiered snowflake flower ornament using white and metallic blue chenille stems (pipe cleaners). Makes a perfect winter, new year and Christmas decoration. I have named it the blue and white chenille stick pipe cleaner snowflake!
Each petal is created by coiling a white stem into a flat oval core, framed along the outer edge with glittering blue tinsel wire. Twelve matching petals are prepared.
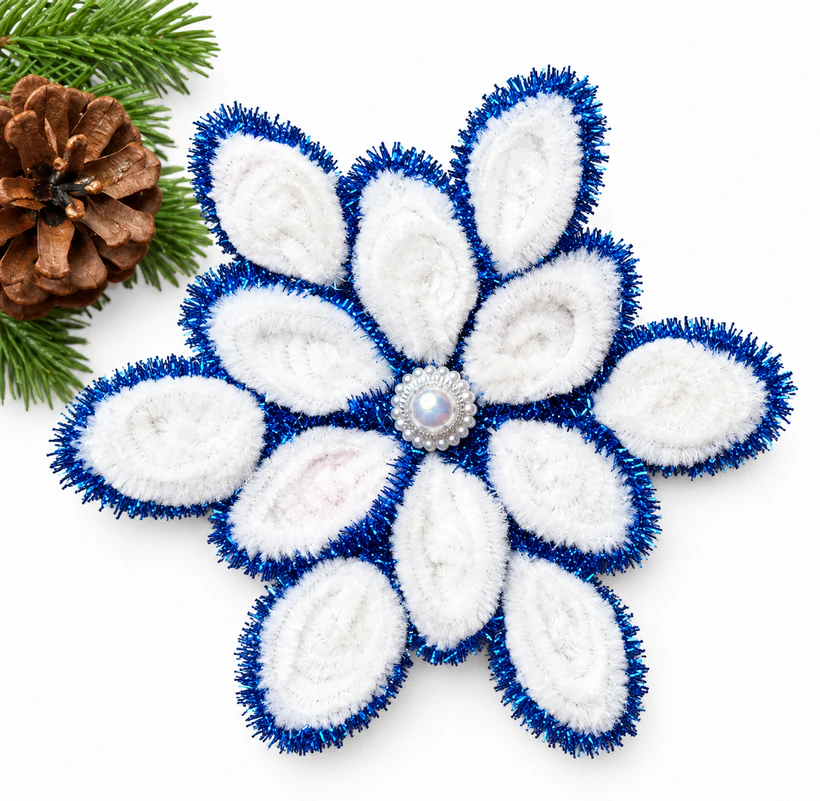
The crafter glues six petals radially to create the bottom star base, then bonds six more petals offset on top to build rich dimensional depth. The piece is crowned with a pearl and rhinestone center gem.

Uses:
-
Sparkling holiday tree hanging ornament.
-
Winter wreath and garland embellishment.
-
Decorative topper for wrapped holiday packages.
-
Seasonal centerpiece or wall decor.
Difficulty Level
Difficulty: Easy (Beginner)
Why: The craft relies on accessible supplies and repetitive, straightforward actions. Forming the petals requires simple hand-coiling and wrapping without complicated measurements or intricate wire-wrapping skills. Assembling the flower is an intuitive gluing process. Basic caution is only needed when using hot glue to avoid burns and when clipping wire ends with cutters.
Materials
-
White chenille stems (pipe cleaners)
-
Metallic blue tinsel chenille stems (pipe cleaners)
-
Hot glue gun and glue sticks
-
Wire cutters / craft pliers
-
Faux pearl and rhinestone flatback cabochon
Learn to Make the Pipe Cleaner Pink Snowflake
Better learn the whole method of making this plush snowflake using pipe cleaners in this tutorial:
Folds and Shaping Techniques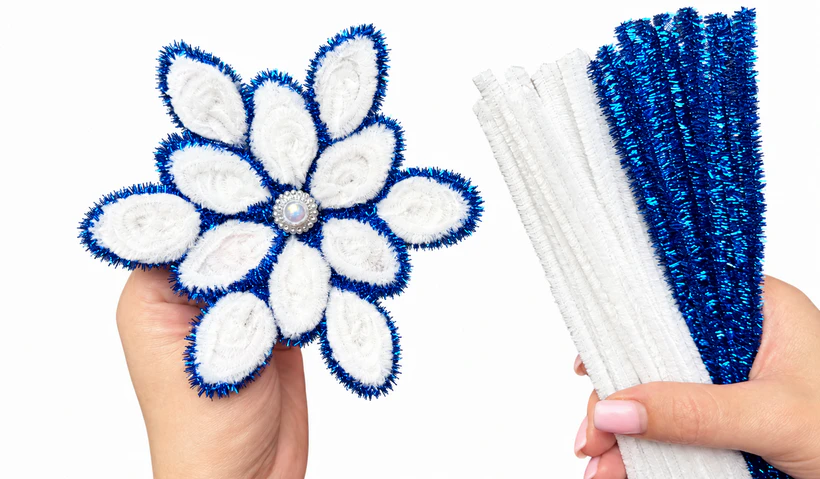
-
Flat Oval Coil Fold: Winding and flattening the white chenille stem back and forth into a dense, leaf-shaped oval pad.
-
Perimeter Outline Wrap: Running the blue tinsel wire along the outer boundary of the white pad to create a crisp contrasting border.
-
Radial Ring Assembly: Arranging and adhering petal bases together in a circular layout.
-
Staggered Layering: Nesting a secondary tier of petals directly into the gaps between the lower petals for a full 3D effect.
Step-by-Step Guide
-
Form the Petal Core (00:00 – 00:35): Take one white chenille stem and fold it back and forth in tight, concentric oval coils. Compress it flat between your fingers to create a solid, elongated white leaf or petal core.
-
Add the Glitter Border (00:36 – 00:58): Apply a bead of hot glue along the outer rim of the white oval. Press a metallic blue tinsel chenille stem firmly against the edge, wrapping it completely around the perimeter. Trim off the excess blue wire using wire cutters.
-
Make Twelve Matching Petals (00:59 – 01:05): Repeat the coiling, bordering, and trimming steps until you have a set of twelve uniform white-and-blue petals.
-
Assemble the Bottom Layer (01:06 – 01:44): Take six petals and glue their lower inner edges together in a symmetrical circular pattern to form a six-petaled floral star base.
-
Attach the Top Layer (01:45 – 02:37): Apply glue to the back ends of the remaining six petals and place them on top of the first layer, positioning each one over the junction between two bottom petals for a lush, staggered layout.
-
Affix the Center Gem (02:38 – 03:05): Add a dab of hot glue to the center of the assembled snowflake, then press the rhinestone-encircled pearl cabochon firmly into the middle until set.