

I only refer to the original resources of the designer. So, the pattern type is variable (video, written or both may be available!)

DIY Pipe Cleaner SUPER ELEGANT Corded Loop Pine Cone Ornament
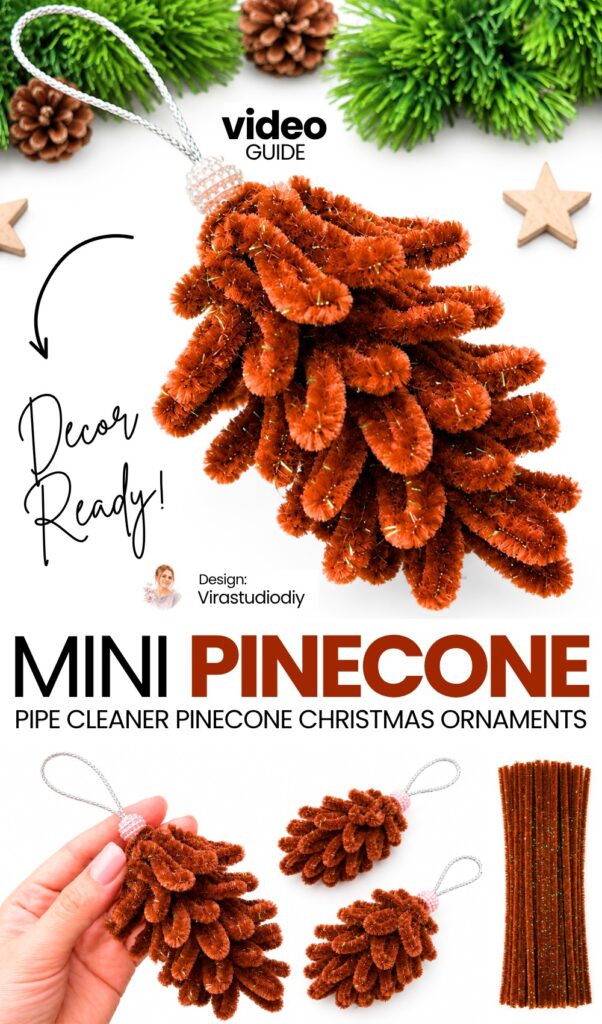
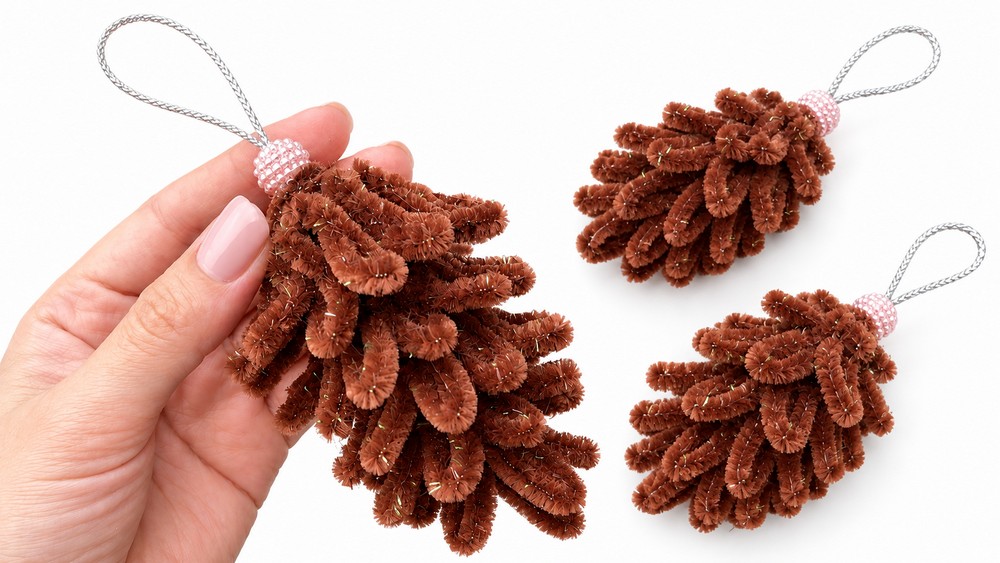
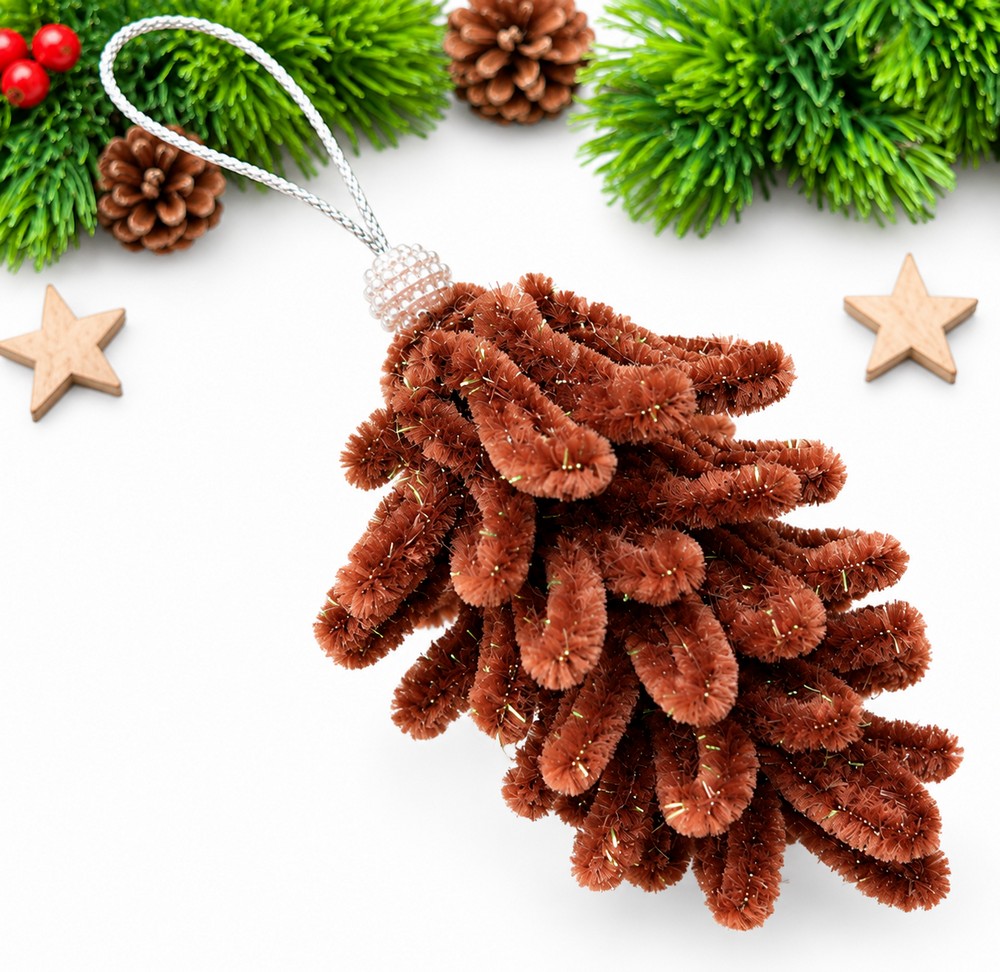
Today, I featuring another easy & quick tutorial to a Christmas ornament using pipe cleaner! Learn how to DIY this SUPER realistic 3D pinecone ornament using brown glitter chenille stems (pipe cleaners), floral wire, paper napkin, and a bead accent. You can also make this pipe cleaner brown winter ornament as a New Year decoration and add some to your pipe cleaner buddy crafts as well.
A tapered cone core is constructed by rolling folded paper around craft wire and encasing it in a coiled pipe cleaner.
Cut 7.5 cm chenille segments are folded into teardrop loops to create textured scales, which are glued in dense, staggered concentric tiers from the tip down to the base. A silver hanging cord threaded through a beaded bauble completes the ornament.
Uses:
-
Rustic holiday tree hanging ornament.
-
Festive winter wreath, swag, or garland embellishment.
-
Woodland-themed tabletop bowl filler or centerpiece accent.
-
Handmade decorative topper for seasonal gift packages.
Difficulty Level
Difficulty: Easy (Beginner)
Why: The construction relies on simple, repetitive steps: cutting wire segments to uniform lengths, bending basic teardrop loops, rolling paper, and layering components with hot glue. It does not require complex sculpting skills, though crafting the large number of uniform scales requires patience, and care is needed to avoid burns when handling the hot glue gun.
Materials
-
Brown glitter chenille stems (pipe cleaners)
-
Green floral craft wire
-
White paper napkin or paper towel
-
Wire cutters / craft pliers
-
Hot glue gun and glue sticks
-
Textured pearl or rhinestone bead
-
Silver metallic hanging cord
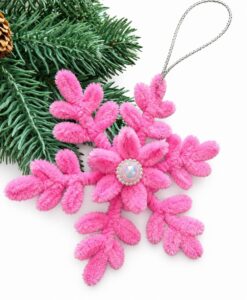
Learn to Make the Pipe Cleaner Pink Snowflake
Better learn the whole method of making this plush pine cone using pipe cleaners in this tutorial:
Step-by-Step Guide
-
Cut the Scale Wire Segments (00:00 – 00:14): Fold a brown glitter chenille stem in half and then in half again. Use wire cutters to cut along the bends, producing four equal pieces measuring 7.5 cm each.
-
Form the Pinecone Scales (00:15 – 00:33): Take each 7.5 cm segment, bend it in the middle to form a curved loop, and twist the two bottom ends together to create a teardrop-shaped scale. Repeat this process until you have a large batch of uniform scales.
-
Build the Inner Cone Core (00:34 – 00:58): Fold a white paper napkin lengthwise into a long strip. Wrap the strip tightly around the tip of a piece of floral wire, shaping it into a firm, tapered cone, and secure the loose paper end with hot glue.
-
Cover the Core (00:59 – 01:29): Anchor a brown chenille stem to the tip of the paper core with hot glue. Coil it tightly downward around the cone until all white paper is completely hidden, seal the bottom with glue, and snip off excess wire.
-
Attach the Scales (01:30 – 02:49): Begin at the pointed tip by hot-gluing the first scales facing slightly outward. Continue gluing scales in concentric, overlapping rings down the cone, staggering each row between the scales of the row above until the entire core is covered.
-
Add the Hanging Cord (02:50 – 03:05): Thread a loop of silver cord through a decorative beaded bauble. Apply a generous dab of hot glue to the wide flat base of the pinecone and firmly attach the bead and hanging loop to complete the project.
See More:
Wanna Crochet Something Else?
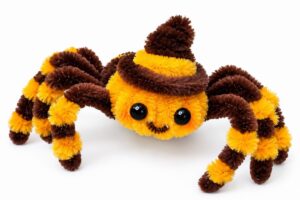
DIY Pipe Cleaner Mini and Funny Brown and Yellow Spider Plushie for Spooky Decoration
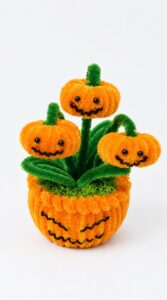
Tutorial to Make Halloween Pumpkin Potted Plant with Cute Smile Plush Decoration
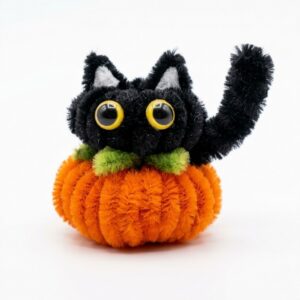
Tutorial to Make A Black Kitty like Orange Plump Pumpkin Plushie Buddy
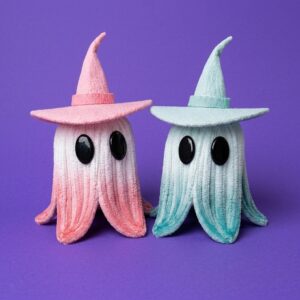
Tutorial to Make Pink Ghost in a Pink Witch Hat Plushie for Kids
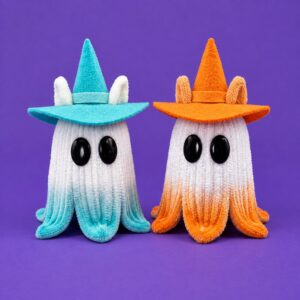
Tutorial to DIY A UNIQUE BOO Ghost in Aqua and Orange Witch Hats
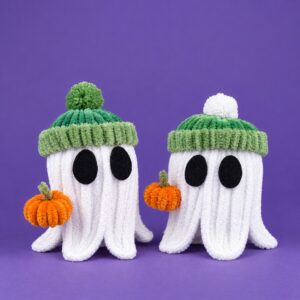
Better Than Crochet: Quick Ghost in Beanies Holding Pumpkin Plushies for Kids
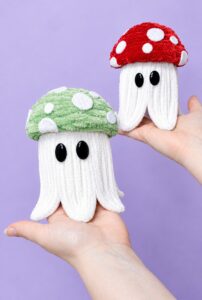
Better Than Crochet: Quick Mushroom Cap Wearing Ghost Plushie for Gifting