

I only refer to the original resources of the designer. So, the pattern type is variable (video, written or both may be available!)
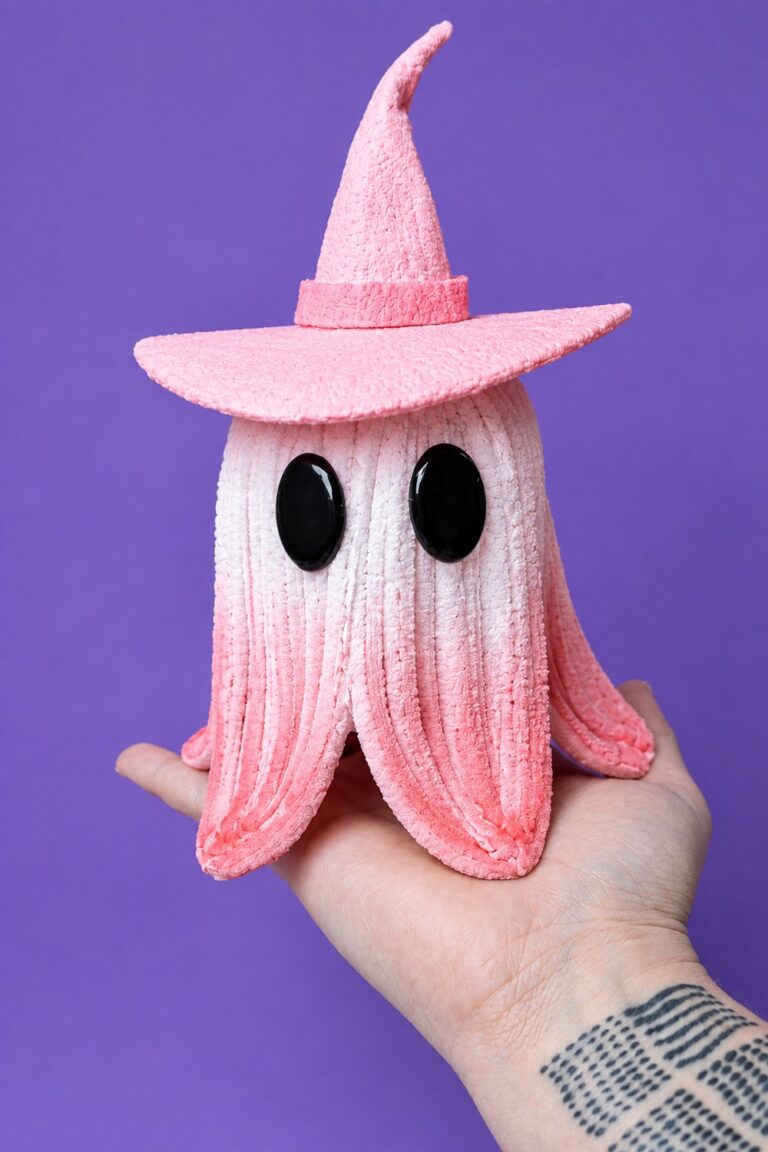
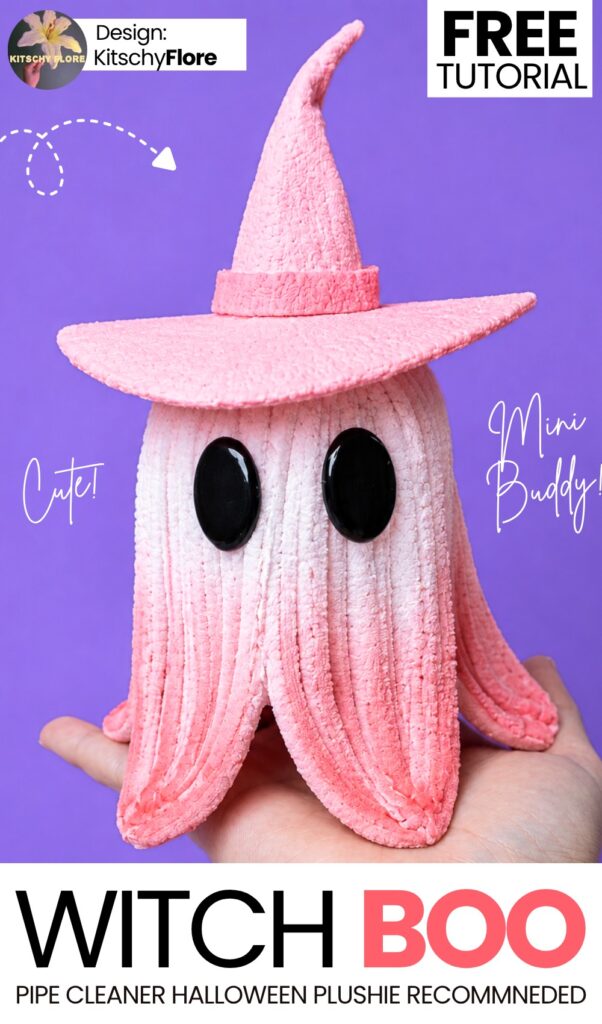
Pipe Cleaner Ghost in a Pink Witch Hat Plushie
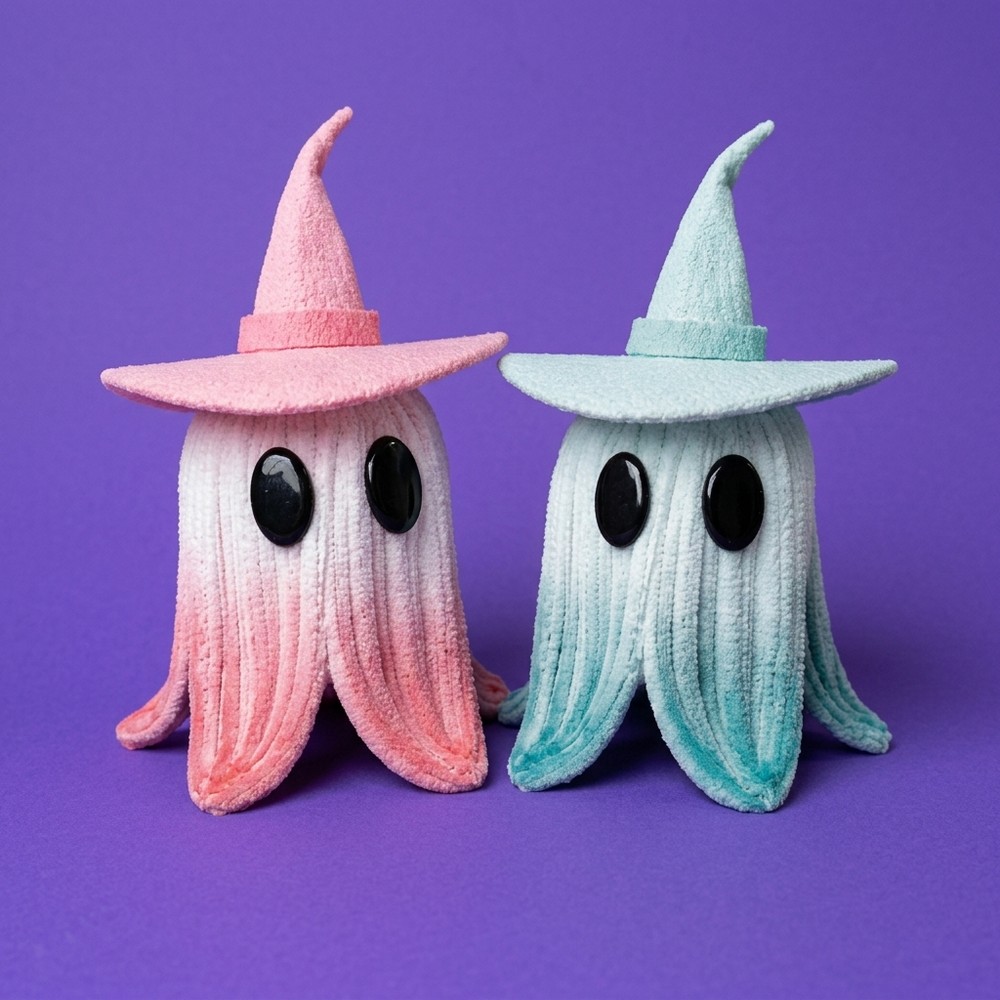
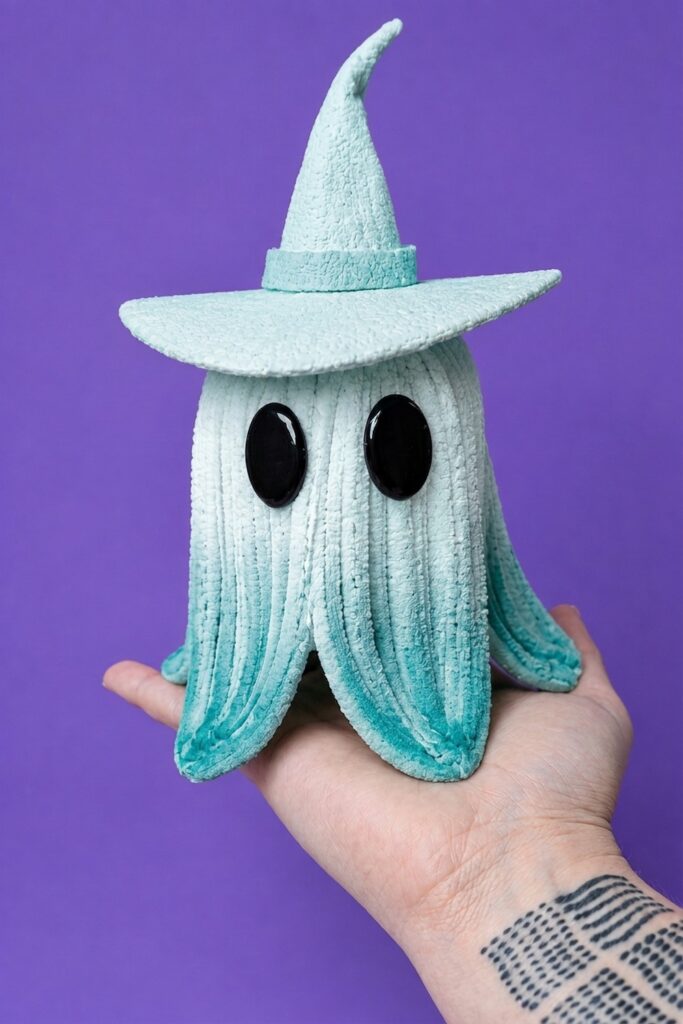
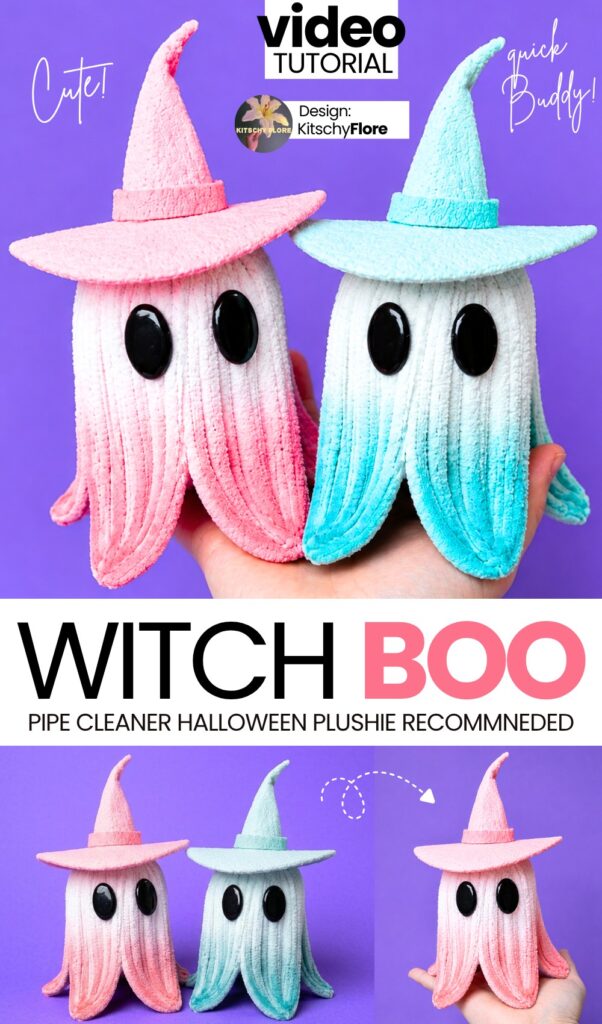
This tutorial shows how to make a cute pink witch ghost using pipe cleaners and craft foam that can also be used as a Halloween lantern for girls. This is a part of Halloween makeup brush and pipe cleaners ghost plush series! First, fold and wrap white pipe cleaners into vertical arched panels. Glue the panels together along the edges to create a hollow, standing ghost body with flared bottom edges.
Next, cut a circle and cone from pink craft foam, assemble a crooked witch hat, and glue it to the ghost head. Then, brush pink pastel along the bottom folds and glue two black oval eyes onto the face. Finally, put battery fairy lights inside the ghost so it glows.
Difficulty Level
-
Level: Intermediate
-
Why: The project requires bending and wrapping pipe cleaners evenly to build a hollow structure that stands balanced on a flat surface. It also requires cutting and assembling small foam pieces into a clean witch hat, hot-gluing parts neatly, and applying smooth pastel shading.
Materials
-
White pipe cleaners
-
Pink craft foam sheet
-
Large black oval craft eyes with white highlights
-
Hot glue gun and glue sticks
-
Scissors
-
Tweezers
-
Pink chalk pastel (or blush) and a small paintbrush
-
Battery-operated LED fairy lights
Share on Social Media!
Frame-by-Frame Quick Guide
-
00:00 – 00:01: Finished glowing pink witch ghost preview.
-
00:02 – 00:06: Bend a white pipe cleaner into a long vertical arch, then wrap additional white pipe cleaners side by side to make a solid, ribbed drape panel.
-
00:07: Snip off the twisted wire excess at the top with scissors.
-
00:08 – 00:11: Hot glue matching white panels together along their inner edges to build a hollow ghost body with flared, wavy bottom folds.
-
00:12 – 00:14: Cut a flat circle and a curved triangle from pink craft foam, then roll and glue the triangle into a pointed cone.
-
00:15 – 00:16: Glue the cone onto the foam circle brim, add a narrow pink band around the hat base, bend the tip down, and glue the completed witch hat onto the ghost head.
-
00:17: Brush pink chalk pastel powder onto the flared bottom folds to create a soft pink ombre effect.
-
00:18: Glue two shiny black oval eyes onto the front using tweezers.
-
00:19 – 00:20: Turn on a small bundle of battery-operated LED fairy lights and tuck them inside the bottom of the hollow ghost.
-
00:21 – 00:23: Set the ghost on a table to watch it illuminate from the inside.
Share on Social Media!
See More:


Wanna Crochet Something Else?
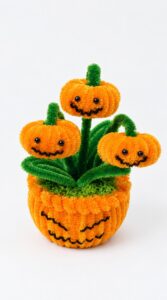
Tutorial to Make Halloween Pumpkin Potted Plant with Cute Smile Plush Decoration
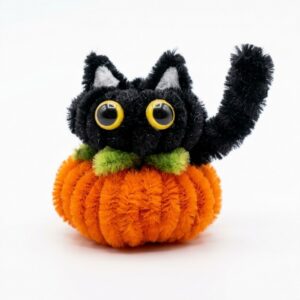
Tutorial to Make A Black Kitty like Orange Plump Pumpkin Plushie Buddy
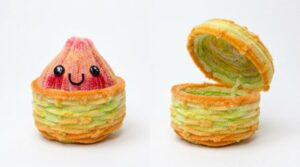
Better Than Crochet: Tutorial to Make a Pipe Cleaner Dumpling Plushie in Basket
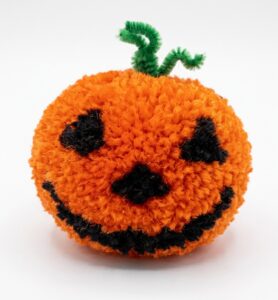
How to Make A Ball Buddy Pumpkin Plushie for Halloween
Tutorial to Make A Halloween Press Toy Dinosaur Buddy for Kids