

I only refer to the original resources of the designer. So, the pattern type is variable (video, written or both may be available!)
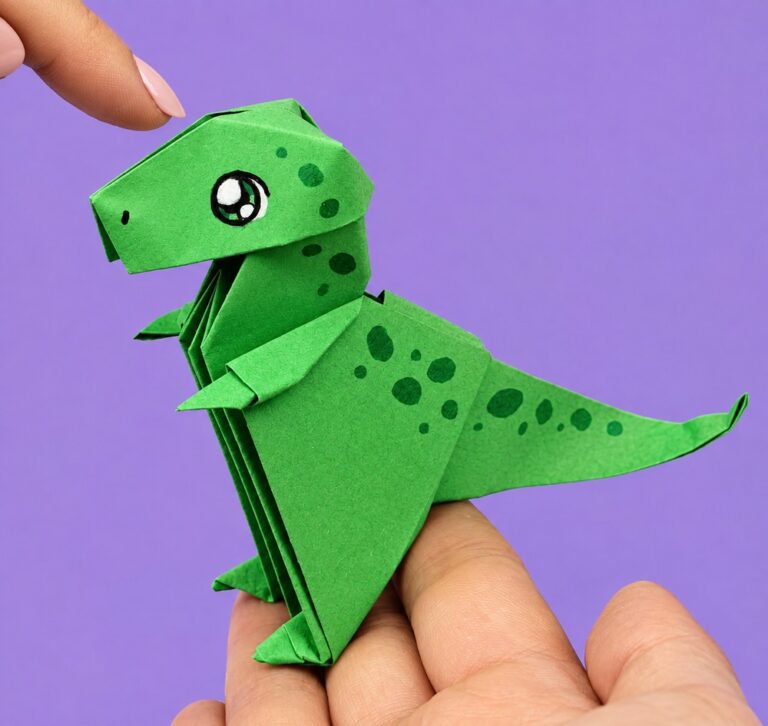
CUTEST Press Toy Dinosaur Buddy Craft for Kids
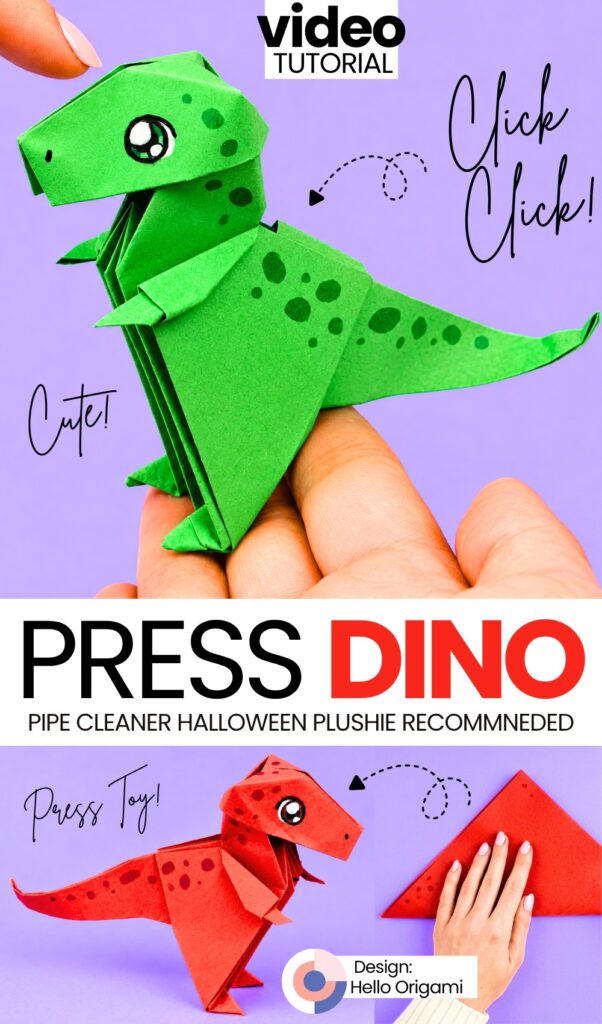
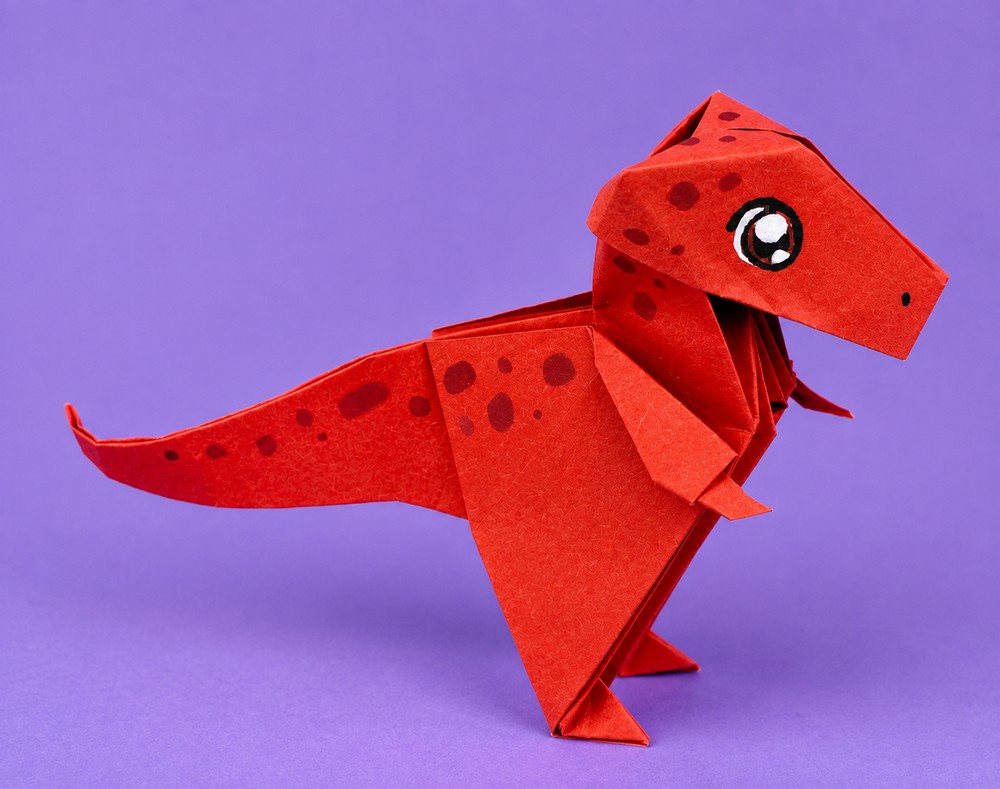
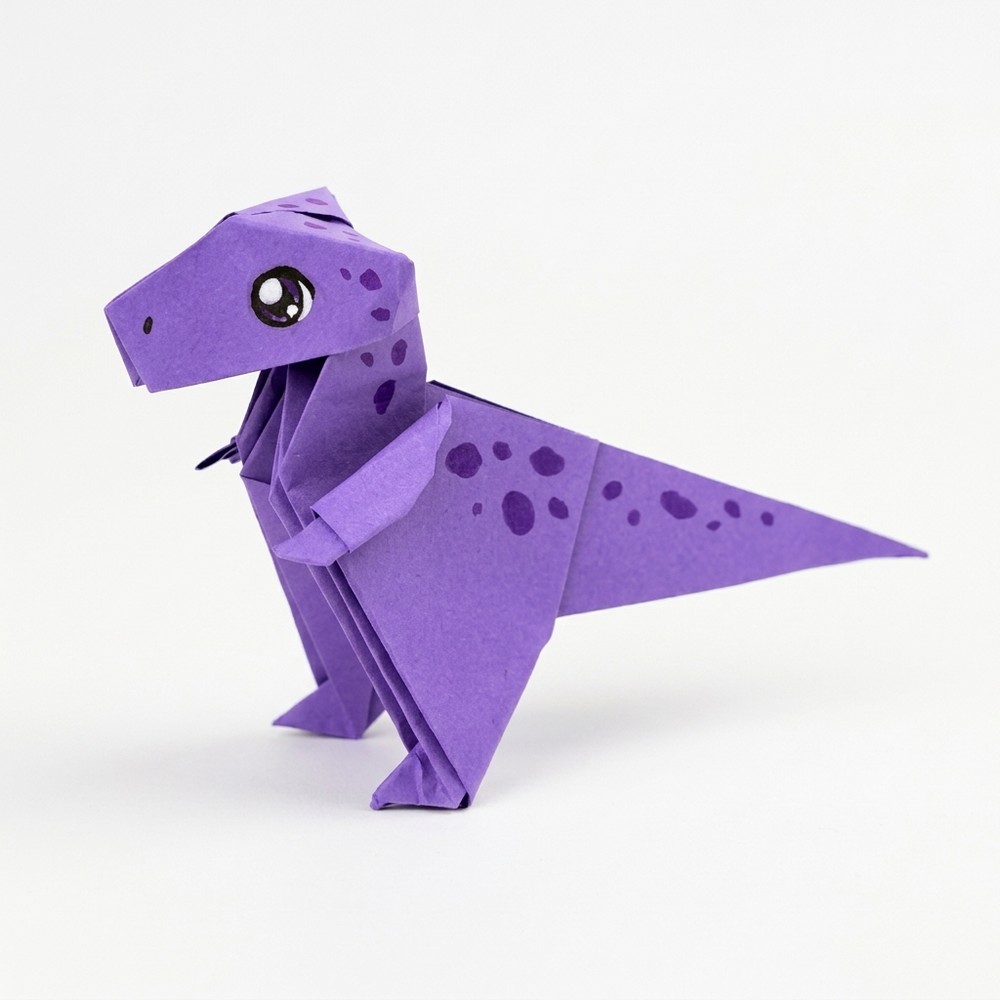
Today’s tutorial is from origami UNIQUE animal press toys series! learn how to fold a standing paper T-Rex dinosaur FOR GIFTING at Halloween from a single square sheet of paper. First, make pre-creases and collapse the paper to form the body and tail flaps. Next, use reverse folds to bring up the neck and angle the head forward.
Then, carefully open and shape the head into a three-dimensional box shape with a snout, jaw, tiny arms, and sturdy feet. Draw eyes, teeth, and spots with markers. Finally, fold a small paper lock piece and insert it into the back to keep the dinosaur sturdy and standing.
Difficulty Level
-
Level: Advanced / Complex
-
Why: This origami model features over 23 minutes of intricate folding. It includes multi-layered inside reverse folds, 3D head squashing, shaping tiny arms, crimping the feet so the model balances upright, and locking the hollow back together.
Materials
-
1 square sheet of colored paper (21 × 21 cm)
-
1 small scrap of matching paper (about 3 × 4 cm, for the back lock)
-
Black fine-tip marker / drawing pen
-
Dark colored marker (for dinosaur spots)
-
White gel pen or Posca marker (for eye highlights)
Origami Folds Used
-
Valley Fold: Folding paper forward along a line.
-
Mountain Fold: Folding paper backward away from you.
-
Inside Reverse Fold: Pushing a fold inward between paper layers to change direction (used for neck, head, feet, and tail).
-
Outside Reverse Fold / Crimp Fold: Wrapping layers over or pleating to angle the head and jaw.
-
Squash Fold: Opening a flap and pressing it flat symmetrically.
-
Pleat / Tuck Fold: Folding corners inside layers to round off edges and lock shapes.
Learn to Make the Ghost Plush
Better learn the whole method of making this plush press dinosaur toy out of cleaners in this tutorial:
Frame-by-Frame Quick Guide
-
00:12 – 00:15: Prepare your 21 × 21 cm square paper sheet.
-
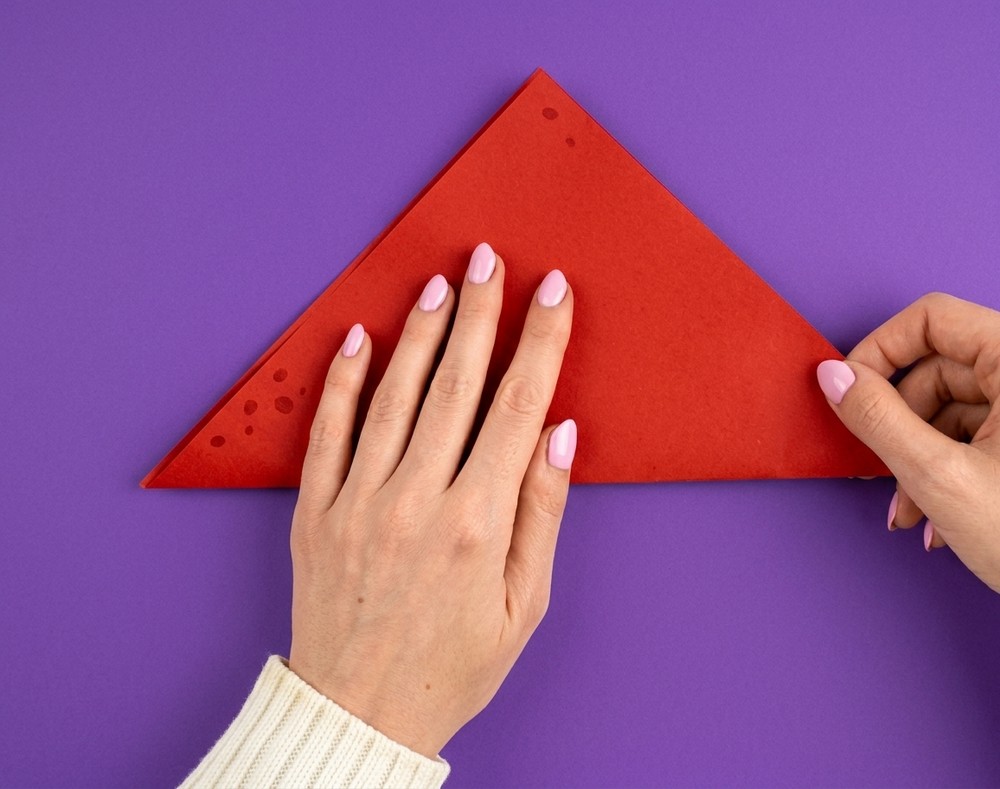
00:16 – 01:58: Fold diagonally from corner to corner both ways, unfold, and fold the bottom edge up to make reference creases.
-
01:59 – 06:17: Crease both sides toward the center, collapse the sides inward, and fold down the top point to create the base flaps for the head, legs, and tail.
-
06:18 – 09:50: Fold the model in half along the vertical center axis to narrow the body structure.
-
09:51 – 11:47: Perform an inside reverse fold to lift the long neck point upward, then reverse fold the top section forward horizontally to form the head.
-
11:48 – 13:40: Open the top of the head slightly and push the paper inward to give the skull a hollow, three-dimensional volume.
-
13:41 – 16:44: Fold the tip of the snout back and tuck the corner inside to form a blunt nose and mouth cavity.
-
16:45 – 18:54: Fold down the small chest flaps on both sides, making small reverse folds to shape the two tiny dinosaur arms.
-
18:55 – 20:40: Mountain-fold and reverse-fold the bottom flaps forward to create broad, flat feet with toes so the dinosaur balances securely.
-
20:41 – 21:00: Pleat and curve the tail downward and slightly to the side.
-
21:01 – 22:48: Color the inside of the mouth black, draw large cartoon eyes with black and white markers, and add darker spots along the head, back, and tail.
-
22:49 – 23:02: Take the small scrap of paper, fold it in half, and fold the sides into a small U-shaped wedge.
-
23:03 – 23:33: Slide the folded lock wedge into the open slot along the back of the dinosaur to lock the body walls together.
-
23:34 – 23:40: Stand your finished origami T-Rex on a flat desk.
Wanna Crochet Something Else?
Cuter Than Crochet: Origami Kawaii Eyed Dumpling in A Steamer Basket Squishy
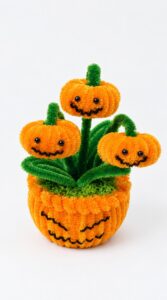
Tutorial to Make Halloween Pumpkin Potted Plant with Cute Smile Plush Decoration
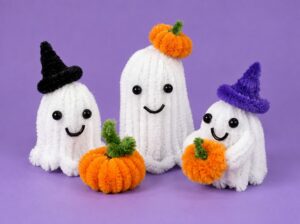
Tutorial to Make 3-Sized Ghost Buddies Holding Pumpkin Gifts for Halloween
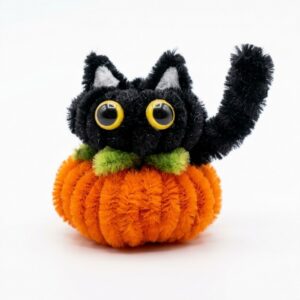
Tutorial to Make A Black Kitty like Orange Plump Pumpkin Plushie Buddy
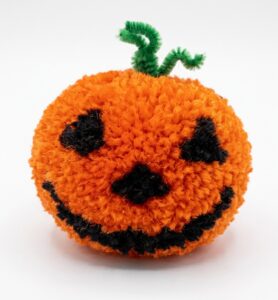
How to Make A Ball Buddy Pumpkin Plushie for Halloween
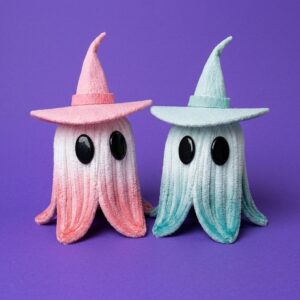
Tutorial to Make Pink Ghost in a Pink Witch Hat Plushie for Kids
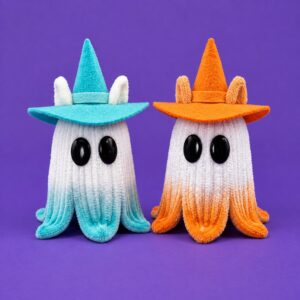
Tutorial to DIY A UNIQUE BOO Ghost in Aqua and Orange Witch Hats
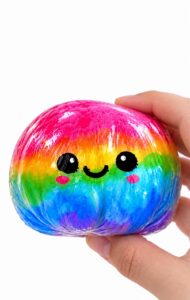
Tutorial to DIY Rainbow Boa Bun Dumpling Squishy for Anti-Stress Toys
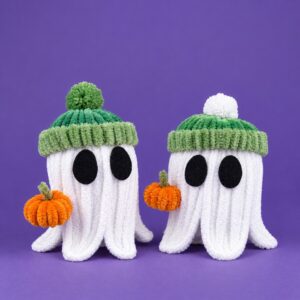
Better Than Crochet: Quick Ghost in Beanies Holding Pumpkin Plushies for Kids