

I only refer to the original resources of the designer. So, the pattern type is variable (video, written or both may be available!)
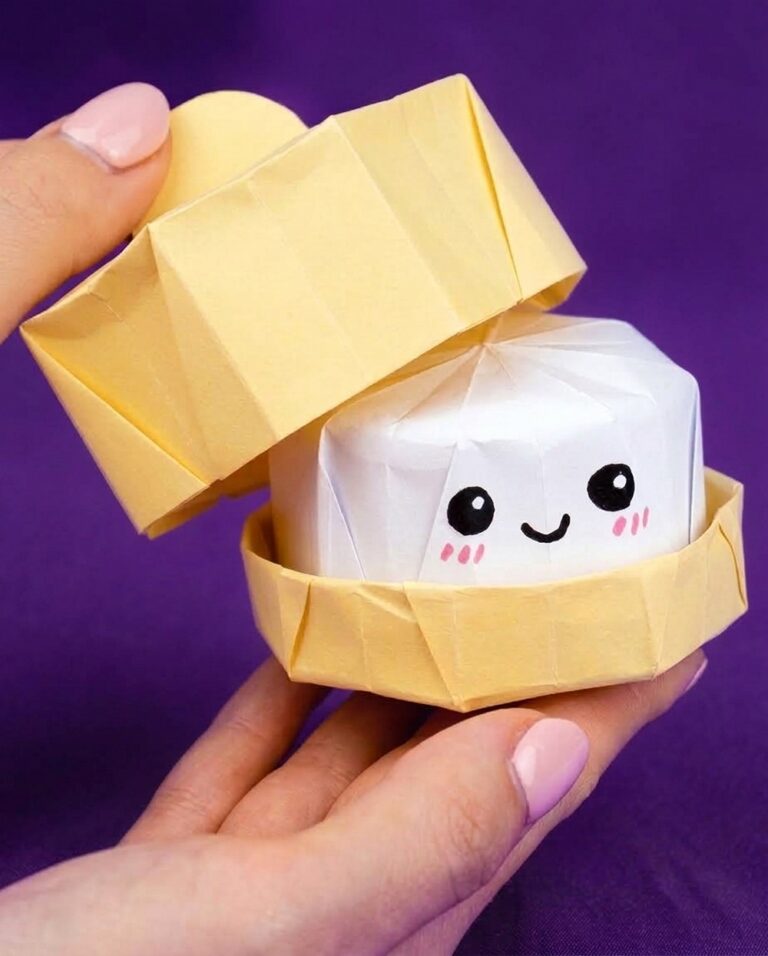
Origami Dumpling in A Steamer Basket of Paper
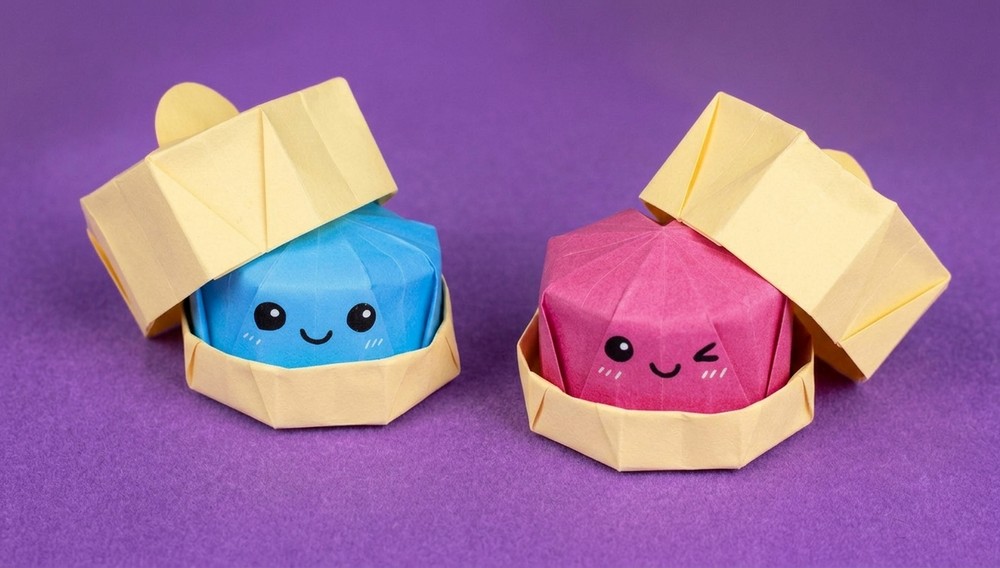
With today’s DIY dumpling tutorial, learn how to make an origami dumpling paper squishy and its octagonal box. First, fold two matching halves from square paper using repeated squash folds and tucks.
Open both pieces into three-dimensional cups, fill one cup with soft paper tissues, and join them together to form a soft dumpling. Draw a cute face on the dumpling with markers.
Next, fold two more pieces using the same folding steps to create the box base and lid. Finally, glue a small paper handle onto the lid and place the dumpling inside the box.
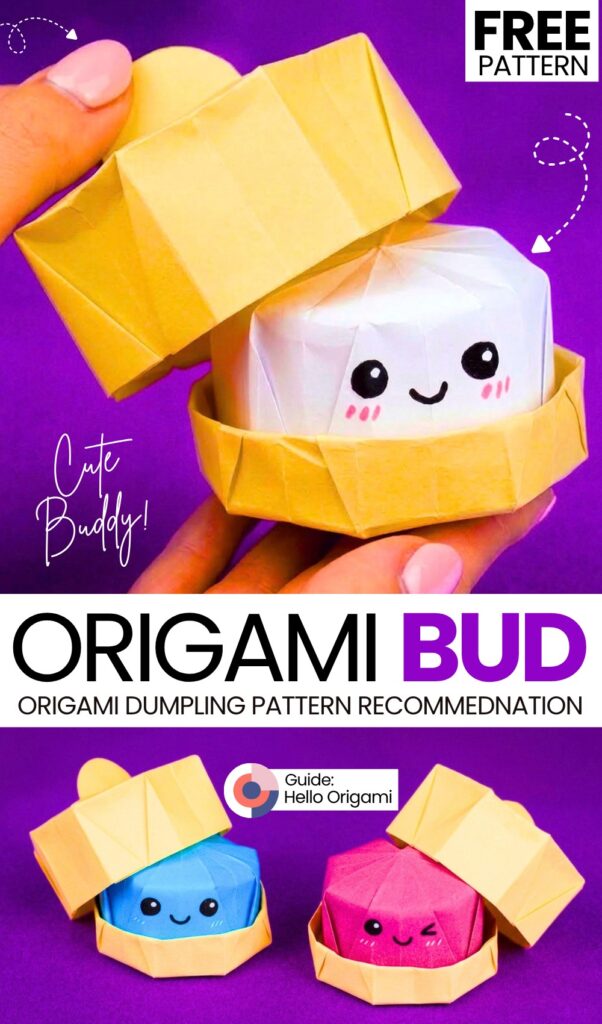
Tutorial to Make the Origami Quick Dumpling Plushie
Difficulty Level
-
Level: Intermediate
-
Why: The project uses a complex origami squash-folding pattern that must be repeated neatly across multiple layers on four separate sheets of paper. Connecting the two halves and interlocking the small paper tabs without tearing or collapsing the paper requires good patience, precision, and finger dexterity.
Materials
-
For the Dumpling Squishy:
-
2 colored paper squares (12 × 12 cm)
-
Facial tissues or soft paper napkins (for stuffing)
-
Black fine marker
-
White marker / gel pen
-
Pink marker (for cheeks)
-
-
For the Box:
-
1 paper square for the lid (15 × 15 cm)
-
1 paper square for the bottom base (14 × 14 cm)
-
Small paper scrap (for lid handle)
-
Glue stick
-
Learn to Crochet the Bat Plush
Better learn the whole method of making this plush dumpling out of paper in this tutorial:
Frame-by-Frame Quick Guide
-
00:30 – 00:33: Check and prepare your paper sizes (two 12×12 cm squares for the dumpling, one 15×15 cm square and one 14×14 cm square for the box).
-
00:34 – 02:18: Fold the 12×12 cm paper diagonally both ways, turn over, fold horizontally both ways, and collapse along the creases into a square preliminary base.
-
02:19 – 05:10: Fold side edges inward to the center line and squash-fold each flap open. Repeat on all four flaps to form a narrow diamond shape.
-
05:11 – 09:27: Fold down the top triangles, fold the outer edges inward, and crease the bottom folds firmly to lock the segments.
-
09:28 – 09:35: Repeat the exact same folding process with the second 12×12 cm sheet so you have two identical folded units.
-
09:36 – 11:37: Carefully spread open the pleats of both units from the inside to expand each piece into a hollow, octagonal bowl shape with side tabs.
-
11:38 – 12:12: Tear and crumple paper tissues, then stuff them firmly inside one of the paper bowls.
-
12:13 – 12:49: Place the second bowl over the stuffed bowl and tuck the tabs of both halves into each other to lock them together into a squishy ball.
-
12:50 – 13:10: Use black, white, and pink markers to draw eyes, a winking expression, a smile, and blushing cheeks on the front.
-
13:11 – 13:17: Fold the 15×15 cm square and the 14×14 cm square into the same basic folded unit used for the dumpling halves.
-
13:18 – 16:22: Take the smaller unit (14×14 cm), fold the top section up, open it wide, and fold the side walls down inward to form a shallow bottom tray.
-
16:23 – 18:19: Take the larger unit (15×15 cm), open it wide, and shape the side walls inward to form the deeper top lid.
-
18:20 – 18:47: Cut a small paper semi-circle, fold a small bottom flap, add glue, and attach it to the center top of the lid to make the handle.
-
18:48 – 19:12: Place your finished dumpling squishy onto the tray, cover it with the lid, and test squeezing your new paper squishy!
See More:
Wanna Crochet Something Else?
Tutorial to Make A Halloween Press Toy Dinosaur Buddy for Kids
Tutorial to Make Halloween Pumpkin Potted Plant with Cute Smile Plush Decoration
Tutorial to Make 3-Sized Ghost Buddies Holding Pumpkin Gifts for Halloween
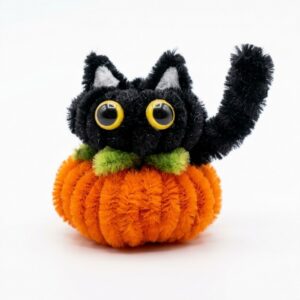
Tutorial to Make A Black Kitty like Orange Plump Pumpkin Plushie Buddy
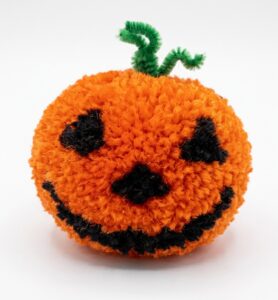
How to Make A Ball Buddy Pumpkin Plushie for Halloween