

I only refer to the original resources of the designer. So, the pattern type is variable (video, written or both may be available!)
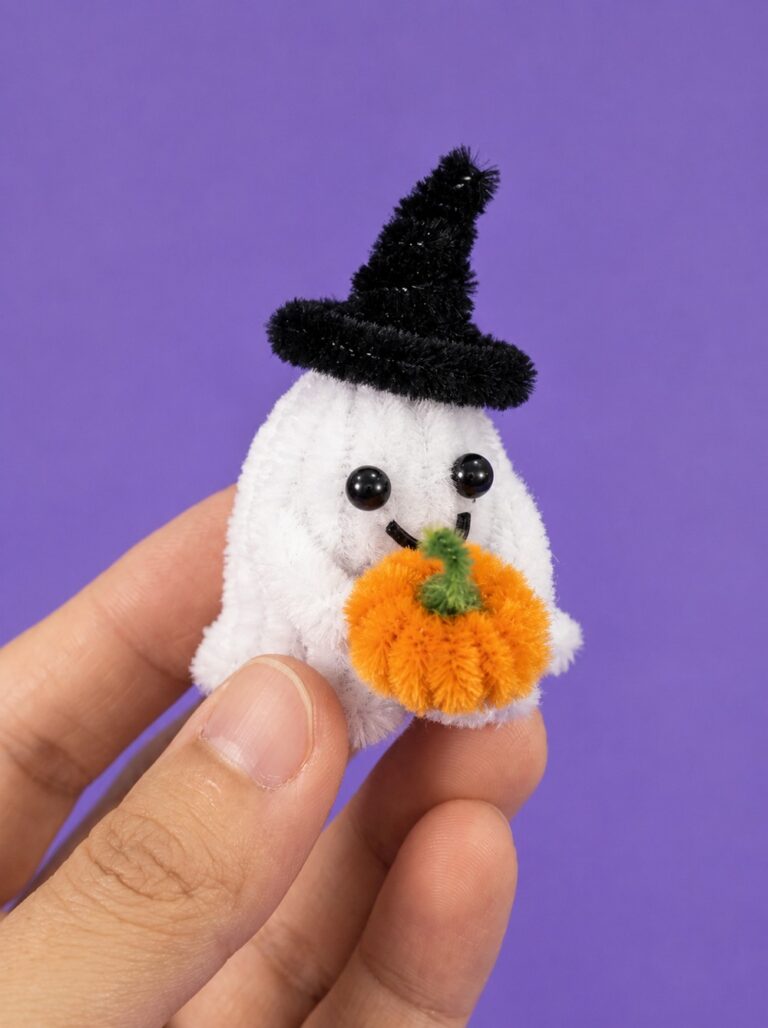
Pipe Cleaner Miniature Ghost Plushie Decorations
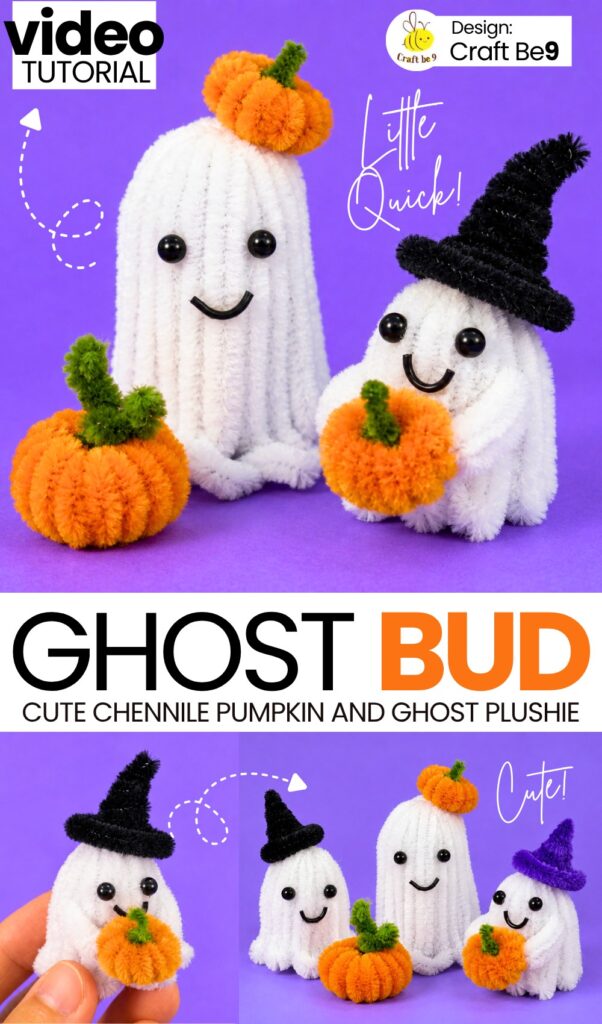
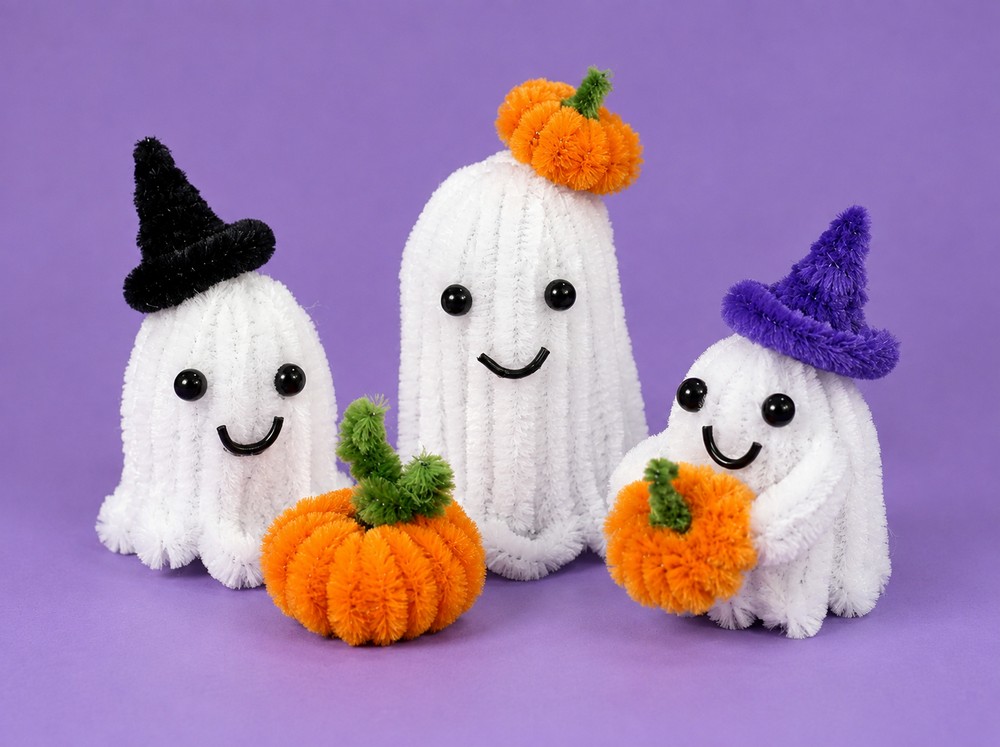
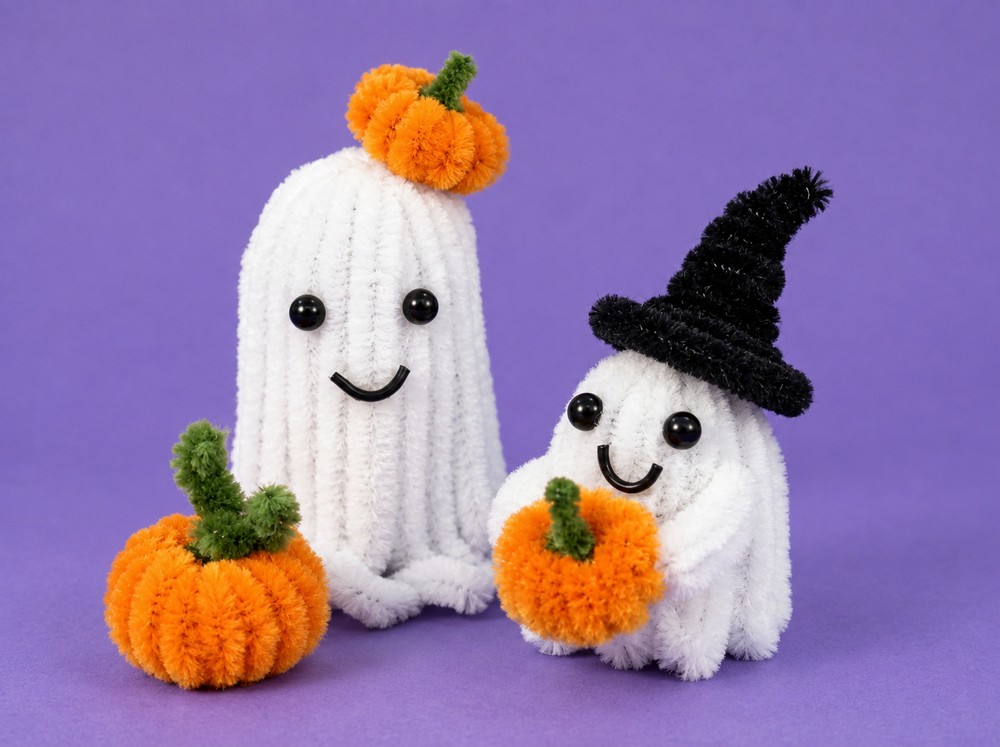
Today, I am back with another oh-so CUTE pipe cleaner ghost decoration tutorial. You will learn how to make a cute Halloween ghost holding a pumpkin using pipe cleaners in 3 sizes. First, you cut white pipe cleaners into equal pieces and fold them in half. You tie them together and fold them down to make the ghost body.
Next, you coil a purple pipe cleaner around a pen to shape a witch hat and glue it on top. Then, you make two small white arms and glue them to the sides. After that, you wrap an orange pipe cleaner around a pen refill to make a mini pumpkin. Finally, you glue on the pumpkin, eyes, and mouth.
Difficulty Level
Difficulty: Beginner / Easy
Why: The craft uses very few and simple tools (scissors, ruler, pen, hot glue gun). The techniques only require simple cutting, basic bending, wrapping around cylindrical pens, and gluing pieces together. No advanced crafting or sculpting skills are needed.
Materials Used
-
White pipe cleaners
-
Purple pipe cleaner
-
Orange pipe cleaner
-
Green pipe cleaner
-
Two small black beads (for eyes)
-
Small black curved piece of wire/pipe cleaner (for mouth)
-
Ruler
-
Scissors
-
Hot glue gun and glue sticks
-
Pen with a tapered tip
-
5 mm pen refill / thin rod
-
Tweezers
-
Small needle-nose pliers
Folds Used
-
Half fold (U-fold): Bending pipe cleaner strips directly in half to form loops.
-
Spiral / coil wrap: Winding pipe cleaners tightly around pens to create cones and tubes.
-
Circle / ring bend: Bending a coiled strip into a closed circular donut shape.
-
Inverted downward fold: Pulling bundled loops downward around a tied base to form the dome-shaped ghost body.
-
Tip bend: Bending the end of the green stem with pliers.
Learn to Make the Ghost Plush
Better learn the whole method of making this plush ghost holding pumpkin using pipe cleaners in this tutorial:
Quick Frame-by-Frame Guide
-
00:11 – 00:33: Measure a 30 cm white pipe cleaner and cut it into 10 cm pieces until you have 10 equal pieces.
-
00:34 – 01:12: Fold each 10 cm piece in half to make looped strips, then bundle all 10 folded pieces together.
-
01:13 – 01:38: Wrap a small scrap piece of pipe cleaner tightly around the open cut ends of the bundle and cut off any extra tip.
-
01:39 – 02:23: Fold and pull all the looped ends down over the tied base, spreading them out evenly to shape a hollow, standing ghost body.
-
02:24 – 03:37: Wrap a purple pipe cleaner around the tip of a pen to make a cone, bend the remaining end in a flat circle to form the hat brim, and trim the edges.
-
03:38 – 04:11: Fold and trim two small white pipe cleaner pieces to make the two ghost arms.
-
04:12 – 04:26: Apply hot glue to attach the two arms to the sides of the ghost.
-
04:27 – 04:35: Apply hot glue to the top of the ghost head and attach the purple witch hat.
-
04:36 – 05:27: Coil an orange pipe cleaner around a 5 mm pen refill, slide it off, curve it into a circle, and glue the ends together to make a pumpkin. Glue a short green piece into the center and bend the stem tip with pliers.
-
05:28 – 05:49: Hot glue the pumpkin into the ghost’s hands, then use tweezers and hot glue to add the two black bead eyes and the smile.
-
05:50 – 06:10: The mini pipe cleaner ghost is finished.
See More:
Tutorial to Make Pink Ghost in a Pink Witch Hat Plushie for Kids
Tutorial to DIY A UNIQUE BOO Ghost in Aqua and Orange Witch Hats
Better Than Crochet: Quick Ghost in Beanies Holding Pumpkin Plushies for Kids
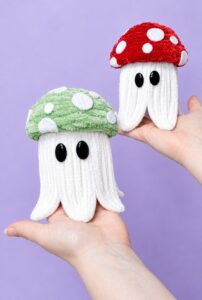
Better Than Crochet: Quick Mushroom Cap Wearing Ghost Plushie for Gifting
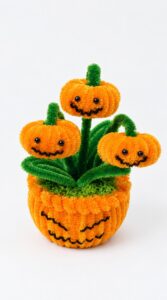
Tutorial to Make Halloween Pumpkin Potted Plant with Cute Smile Plush Decoration
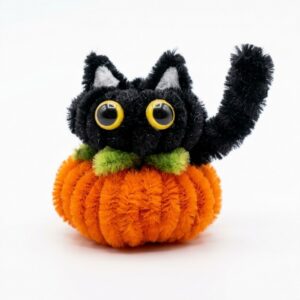
Tutorial to Make A Black Kitty like Orange Plump Pumpkin Plushie Buddy
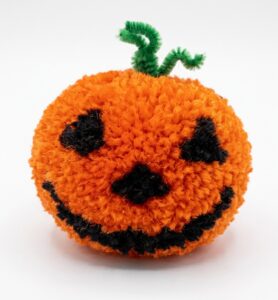
How to Make A Ball Buddy Pumpkin Plushie for Halloween
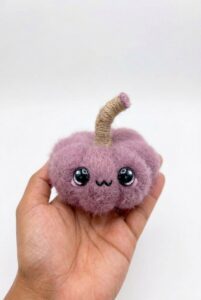
Better Than Crochet: How to DIY A Fluffy Purple Cute Pumpkin Plush for Halloween
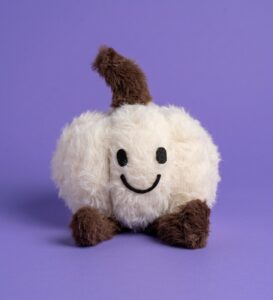
Quicker Than Crochet: DIY Cute White & Brown Pumpkin Buddy Plushie out of Socks