

I only refer to the original resources of the designer. So, the pattern type is variable (video, written or both may be available!)
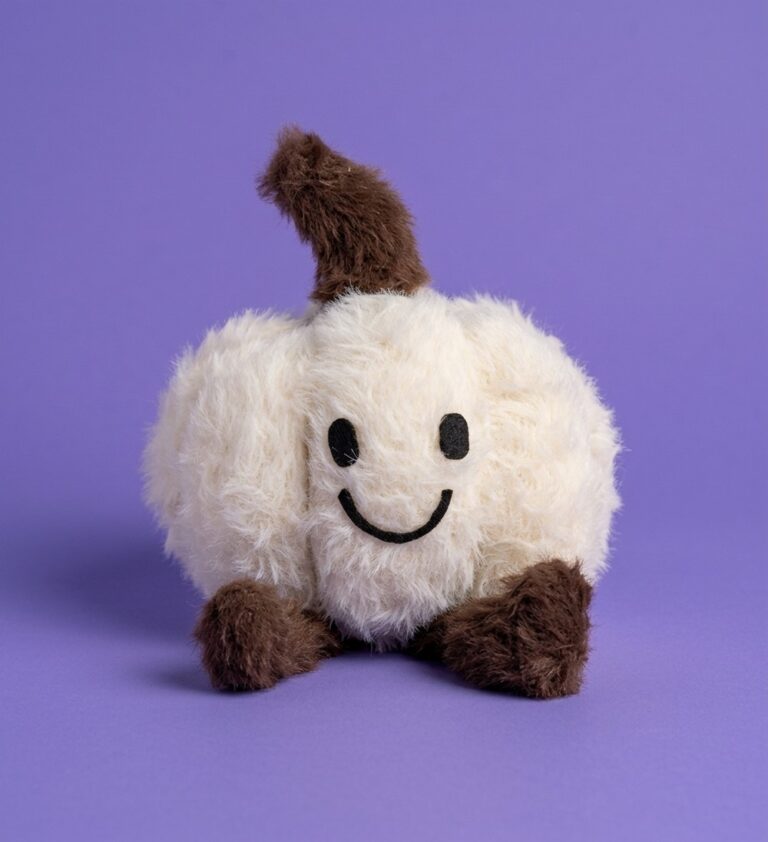
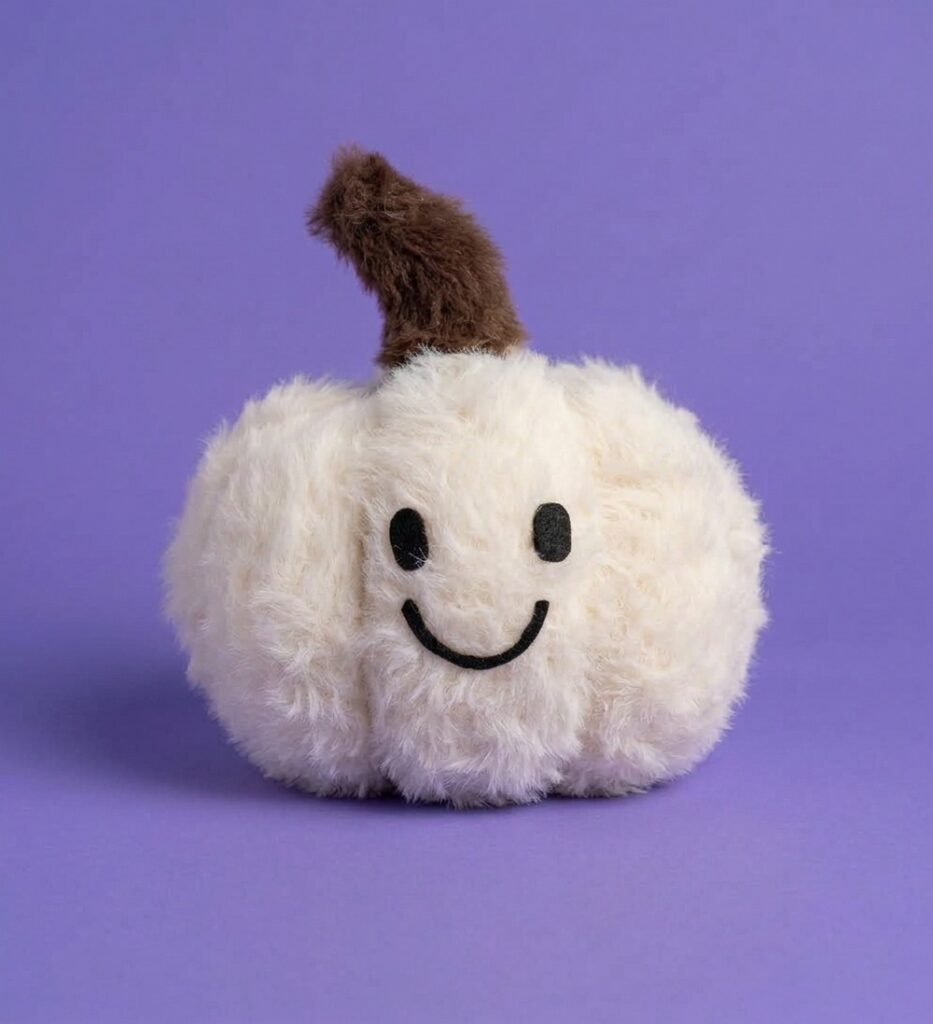
DIY Cute Jellycat Pumpkin Plushie out of Socks
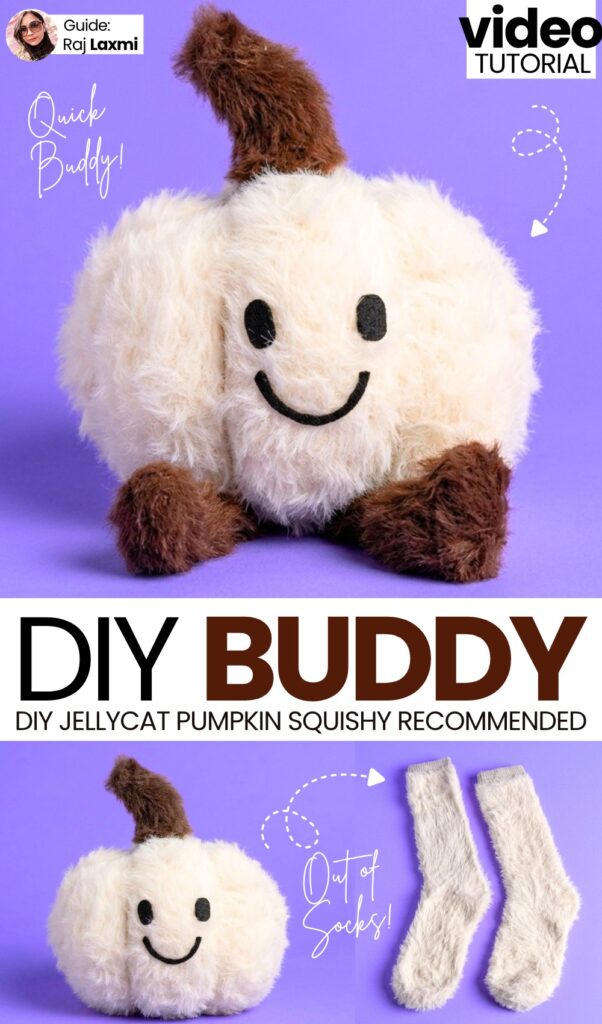
This tutorial shows how to make a cute pumpkin plushie using fluffy socks. First, cut the foot part off a white fuzzy sock, fill it with plush stuffing, and tie it closed. Next, tie twine around the stuffed sock to create pumpkin segments.
Then, cut a brown fuzzy sock to make two small legs and a stem, and sew them closed. Finally, attach the brown stem and legs to the pumpkin body, add two small black eyes, and stitch a smile on the face.
Difficulty Level
-
Level: Beginner / Easy
-
Why: The project requires only basic hand sewing, simple cutting, and tying knots. It does not require a sewing machine, precise measurements, or advanced crafting experience.
Materials
-
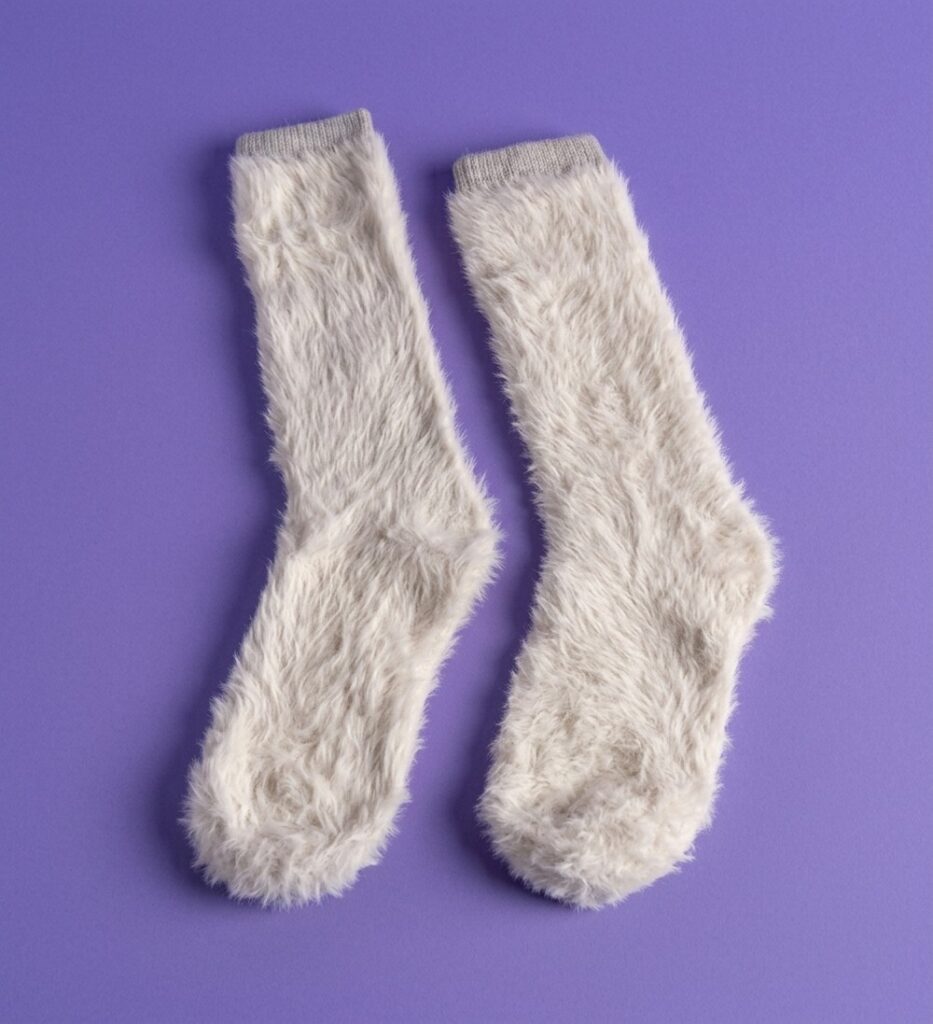
1 white fuzzy sock
-
1 brown fuzzy sock
-
Plush filling (poly-fil / fiberfill)
-
Twine / jute string
-
Sewing needle and thread
-
Scissors
-
Pen or marker
-
2 small black beads (for eyes)
Learn to Crochet the Bat Plush
Better learn the whole method of making this plush pumpkin in this tutorial:
Frame-by-Frame Guide
-
Frames 00:00 – 00:02:
Lay the white sock flat. Use a pen to mark a straight line across the ankle, then cut along the line with scissors to keep the foot section. -
Frame 00:03:
Fill the cut white sock with plush stuffing until it forms a soft, round ball. -
Frames 00:04 – 00:06:
Lay several strands of twine flat in a star/radial pattern and place the stuffed sock in the center. Gather the top opening of the sock and pull each twine strand up tightly along the sides. Tie them together at the top to create the segmented pumpkin ridges. -
Frames 00:07 – 00:08:
Lay out the brown fuzzy sock and cut out shapes for two small boots/legs and a top stem. -
Frame 00:09:
Use a needle and thread to sew the edges of the brown leg pieces together. -
Frame 00:10:
Wrap extra twine neatly around the gathered top of the pumpkin to create a clean base for the stem. -
Frames 00:11 – 00:12:
Attach the brown stem to the top and sew the two legs onto the bottom front. Add two black beads for the eyes and stitch a smiling mouth using black thread to complete the plushie.
See More:
Tutorial to Make Halloween Pumpkin Potted Plant with Cute Smile Plush Decoration

Tutorial to Make 3-Sized Ghost Buddies Holding Pumpkin Gifts for Halloween
Tutorial to Make A Black Kitty like Orange Plump Pumpkin Plushie Buddy
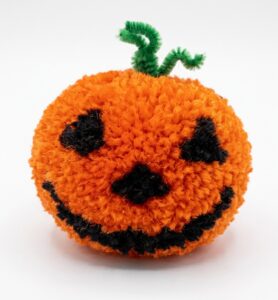
How to Make A Ball Buddy Pumpkin Plushie for Halloween
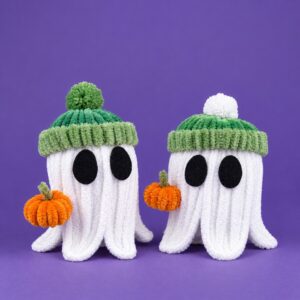
Better Than Crochet: Quick Ghost in Beanies Holding Pumpkin Plushies for Kids
Better Than Crochet: How to DIY A Fluffy Purple Cute Pumpkin Plush for Halloween
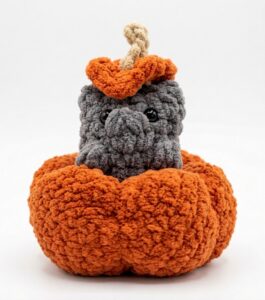
Tutorial to Crochet A Plush Cat Living in A Pumpkin Bed or Basket Plushie