

I only refer to the original resources of the designer. So, the pattern type is variable (video, written or both may be available!)
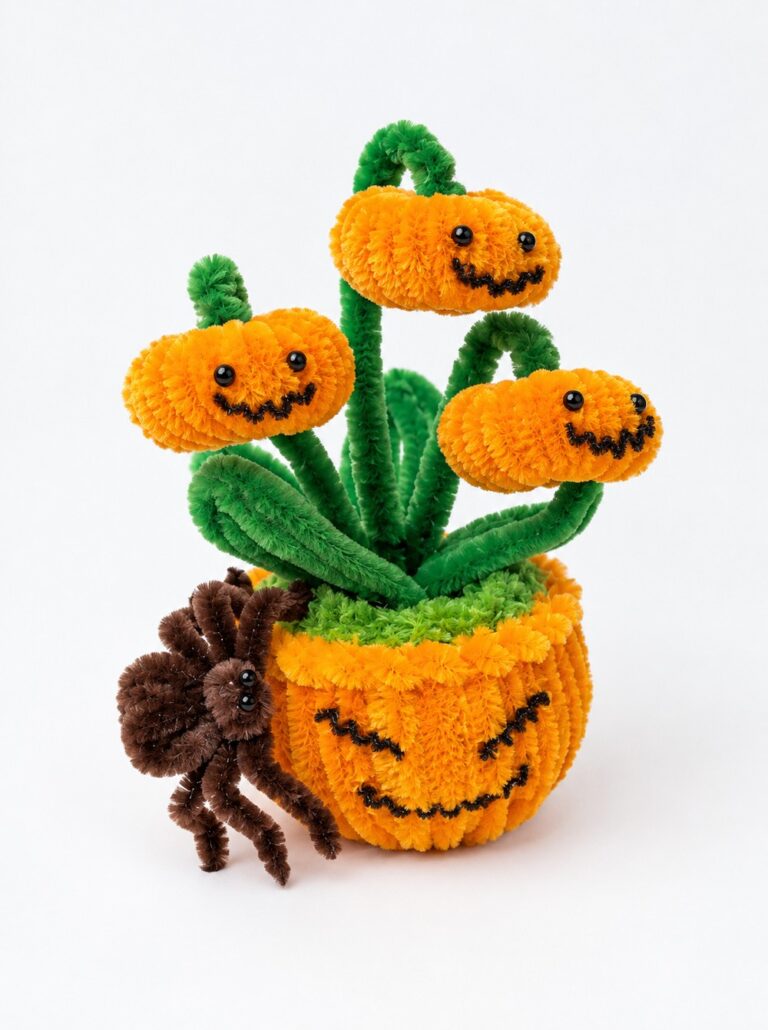
Pipe Cleaner Halloween Pumpkin Potted Decoration
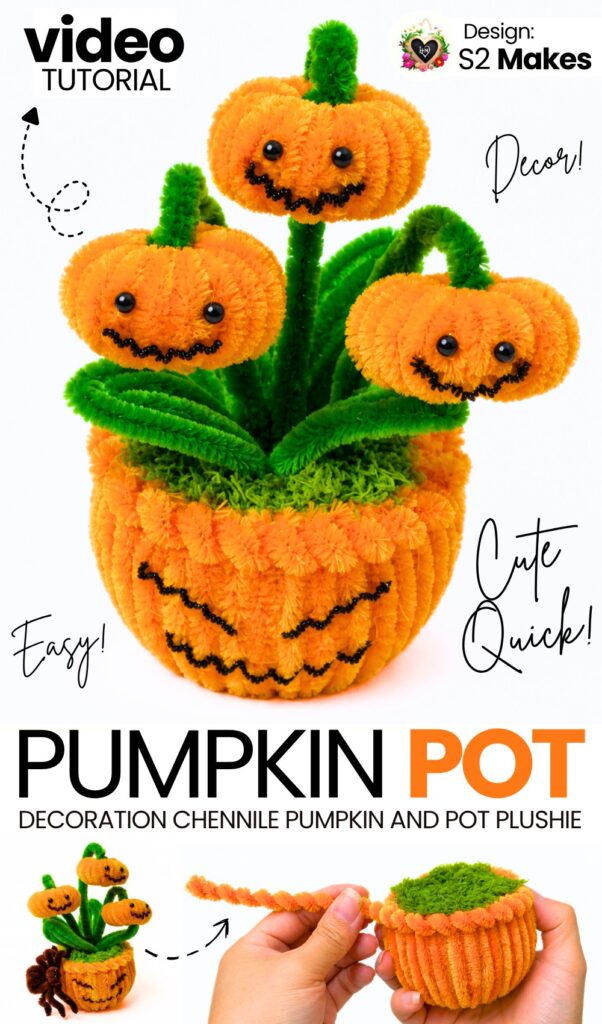
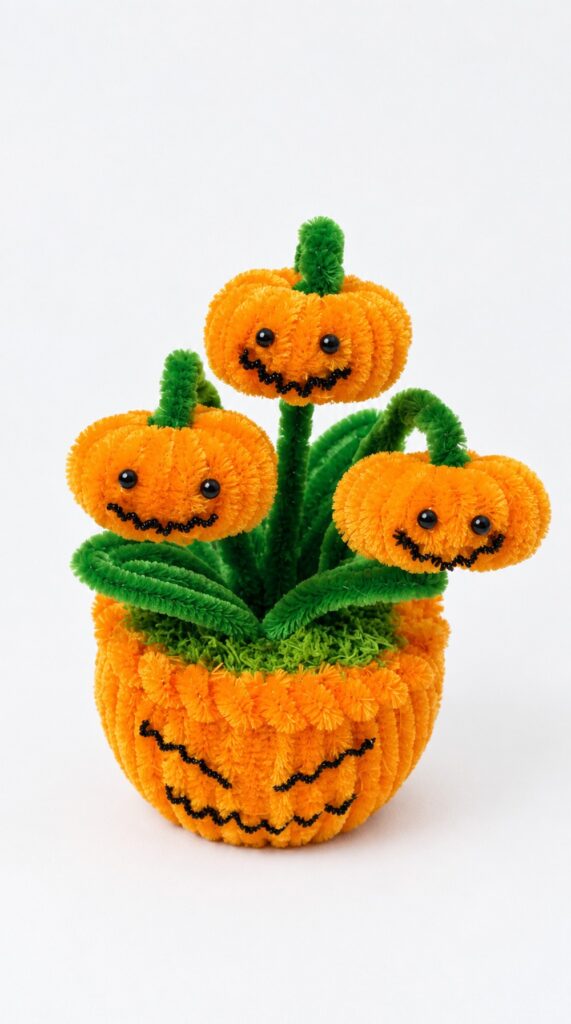
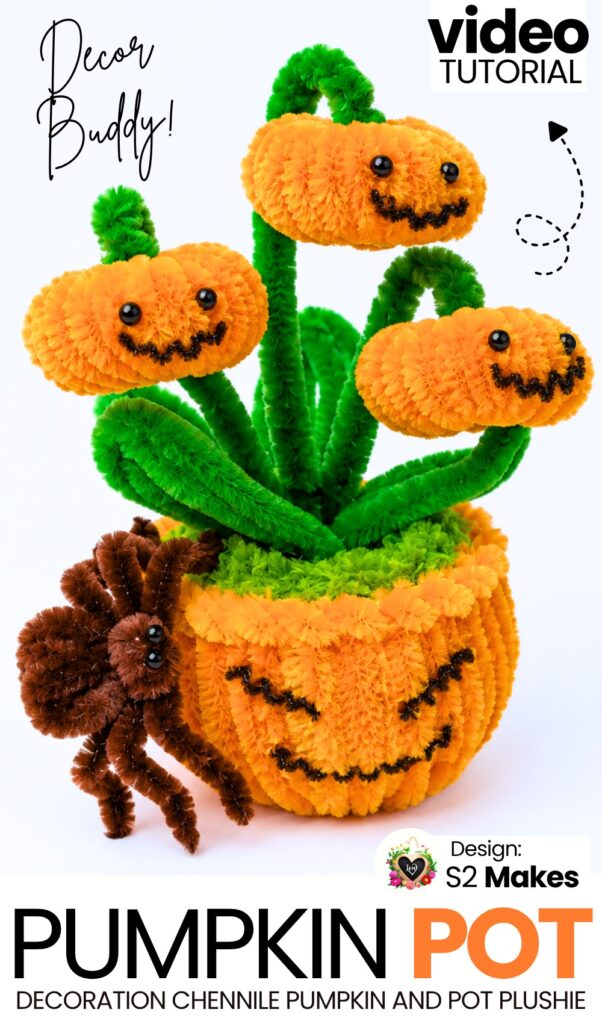
Last year, you all loved the potted flower and plant decorations made using pipe cleaners. So, this Halloween, I have decided to share this tutorial to make a Halloween pumpkin plant in a pot using pipe cleaners. Each pumpkin has a cute smile that makes it gift-ready!
First, you make three small pumpkin heads by wrapping orange pipe cleaners into coils and bending them into balls.
You add green stems, brown zigzag mouths, and small black eyes. Next, you make green leaves, bundle the three pumpkins together, and wrap the stems. After that, you cut a paper cup, add cardboard strips to shape a pot, and cover it with vertical orange pipe cleaners. Finally, you decorate the pot with a pumpkin face and glue the pumpkin plant inside.
Difficulty Level
Difficulty: Easy to Intermediate (Beginner-friendly)
Why: The craft uses basic actions such as cutting, wrapping pipe cleaners around pens, folding leaves, and using hot glue. However, it requires some patience to wrap the coils neatly, shape the pumpkins evenly, construct the cup base with cardboard, and handle hot glue safely when attaching small facial details.
Materials Used
-
Pipe cleaners:
-
Golden orange: 20 pieces
-
Green: 9 pieces
-
Dark brown: 1 piece
-
-
4 mm black craft eyes: 6 pieces (2 per pumpkin)
-
Paper cup: (cut down to 5 cm height)
-
Corrugated cardboard strips: (3 cm and 2 cm wide)
-
Green base / foam covered with green pipe cleaner (pot soil)
-
Tools:
-
Scissors
-
Ruler
-
Thick marker/pen (for pumpkin coiling)
-
Thin rod or wire (for coiling rim trim)
-
Hot glue gun and glue sticks
-
Tweezers
-
Folds Used
-
Zigzag / Accordion fold: Folding the brown pipe cleaner back and forth to make jagged jack-o’-lantern mouths and eyes.
-
Coil / Spiral wrap: Wrapping pipe cleaners tightly around a marker to make pumpkin bodies and around a wire to make the pot rim trim.
-
Ring / Donut bend: Bending the straight coiled cylinder into a round pumpkin ring.
-
Petal / Loop fold: Bending green pipe cleaners in half and side-by-side loops to form pointed leaves.
-
Stem wrap: Folding wires parallel and wrapping another pipe cleaner around them to form thick stems.
Learn to Make the Pumpkin Potted Plant Plush
Better learn the whole method of making this plush pumpkin plant using pipe cleaners in this tutorial:
Frame-by-Frame Quick Guide
-
00:08 – 00:51 | Pumpkin Mouth: Strip the fuzz from a dark brown pipe cleaner and fold it into small zigzags to form a 2 cm jagged mouth. Cut excess.
-
00:52 – 01:12 | Pumpkin Coils: Wrap an orange pipe cleaner tightly around a marker to create a ribbed tube. Make three coiled tubes.
-
01:13 – 01:47 | Pumpkin Head: Slide the orange coils onto a green pipe cleaner, bend them into a round pumpkin shape, thread the green wire through the center, and lock it to form a stem.
-
01:48 – 02:24 | Thick Stem: Fold the green wire down and wrap another green pipe cleaner around it to build a sturdy stem. Bend the top slightly.
-
02:25 – 02:55 | Pumpkin Face: Hot glue the brown zigzag mouth and two 4 mm eyes onto the front using tweezers. Repeat steps to make 3 pumpkin stems in total.
-
03:37 – 03:54 | Leaves: Take two 15 cm green pipe cleaners, fold them into a 5 cm pointed leaf loop, and twist the base. Make 4 leaves.
-
03:55 – 04:26 | Bundle Plant: Arrange the 3 pumpkin stems at different heights with the 4 leaves around them. Wrap a green pipe cleaner tightly around the base to join them together.
-
04:27 – 04:47 | Prepare Pot Cup: Mark a paper cup at 5 cm height and cut the top off.
-
04:48 – 05:45 | Cardboard Shaping: Glue a 3 cm corrugated cardboard strip around the middle and a 2 cm strip around the bottom to create a rounded pumpkin pot profile.
-
05:46 – 06:24 | Cover Pot: Glue orange pipe cleaners vertically around the outside of the cup until the entire pot is covered.
-
06:25 – 06:31 | Insert Soil: Place a green pipe cleaner soil disk inside the cup opening.
-
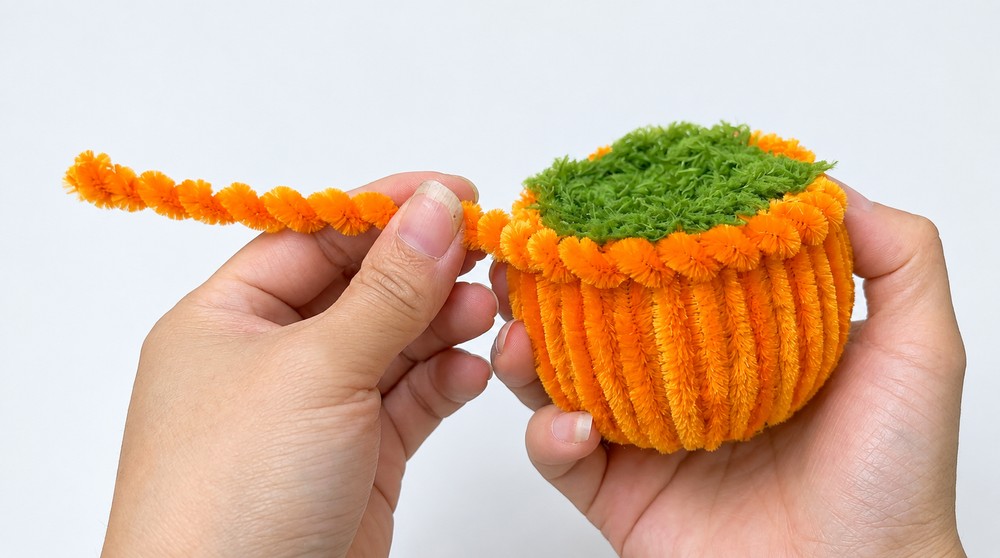
06:32 – 07:04 | Pot Rim: Wrap an orange pipe cleaner around a thin wire into a spring-like coil, pull the wire out, and glue the coiled trim around the top rim of the pot.
-
07:05 – 07:30 | Pot Face: Glue a brown zigzag mouth and two slanted eyes to the front of the pot.
-
07:31 – 08:05 | Assembly: Add hot glue into the center of the green base, insert the pumpkin plant bundle, and adjust the heads and leaves into place.
Share on Social Media!
See More:
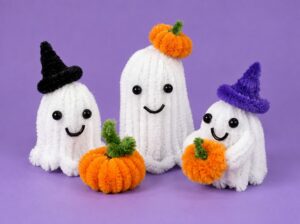
Tutorial to Make 3-Sized Ghost Buddies Holding Pumpkin Gifts for Halloween
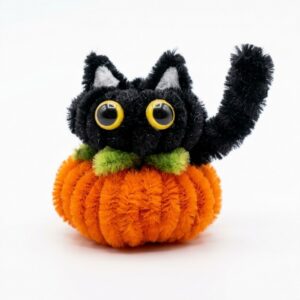
Tutorial to Make A Black Kitty like Orange Plump Pumpkin Plushie Buddy
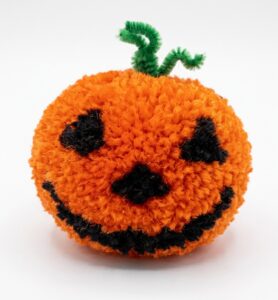
How to Make A Ball Buddy Pumpkin Plushie for Halloween
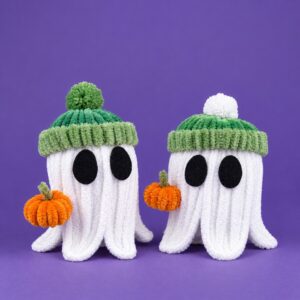
Better Than Crochet: Quick Ghost in Beanies Holding Pumpkin Plushies for Kids
Better Than Crochet: How to DIY A Fluffy Purple Cute Pumpkin Plush for Halloween
Quicker Than Crochet: DIY Cute White & Brown Pumpkin Buddy Plushie out of Socks
Tutorial to Crochet A Plush Cat Living in A Pumpkin Bed or Basket Plushie