

I only refer to the original resources of the designer. So, the pattern type is variable (video, written or both may be available!)
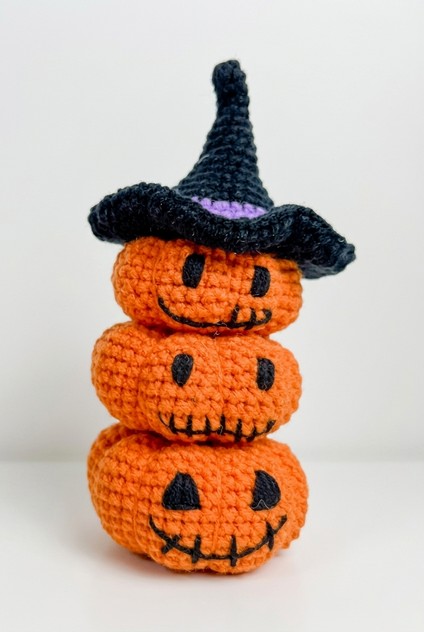
3-in-1 Crochet Tiered Pumpkin in Witch Hat Amigurumi
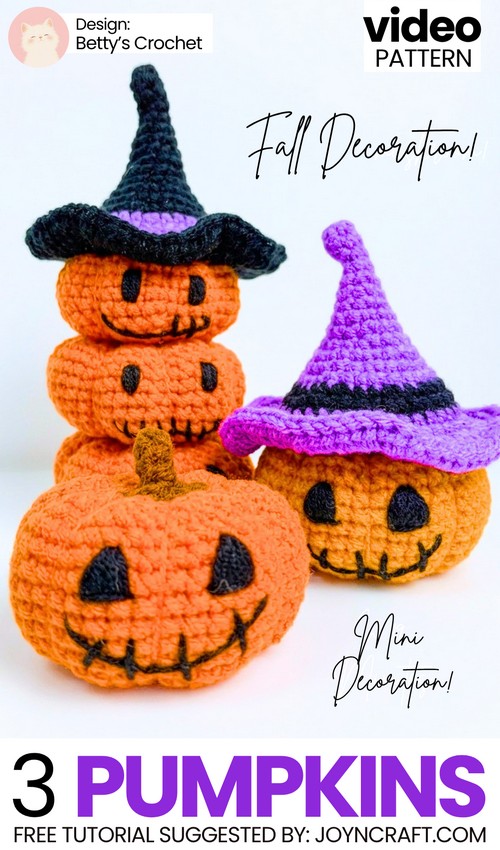
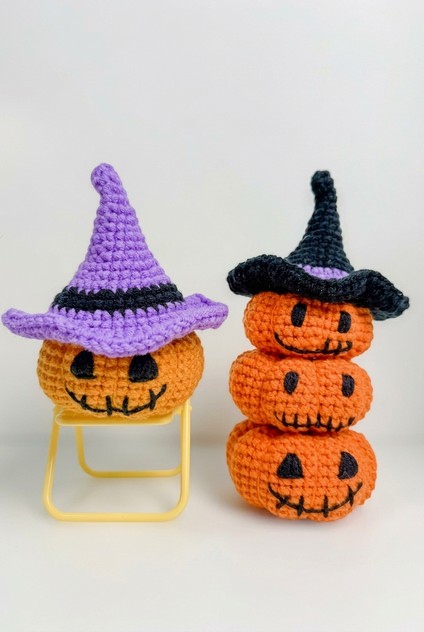
This year, one of my recommendation from the crochet “spooky pumpkin decorations” series is today’s crochet character pumpkin amigurumi tutorial. Introducing, the crochet tiered decoration of smiling jack-o-lantern pumpkins with the top one wearing a long crochet witch hat.
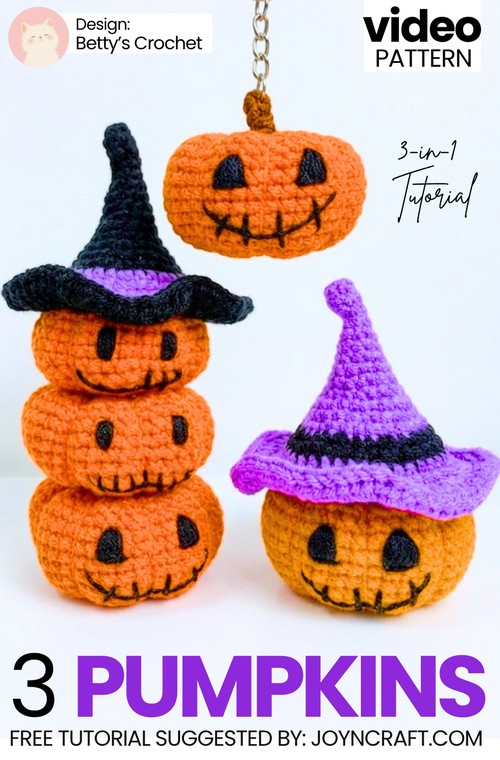
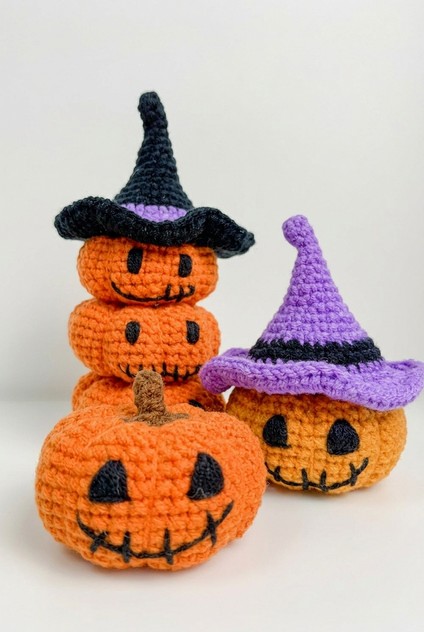
Actually, you can crochet these pumpkins in three ways: single crochet pumpkin as a keychain with a brown flat stem, large single pumpkin with purple witch hat and the tiered pumpkin all following the one and only crochet pattern.
You can sew the wound mouth embroidery and the eyes differently on each crochet amigurumi pumpkin.
You can also crochet yours using the thin plush yarn. Be sure to crochet the complete trio this year to celebrate the Halloween to your fill. You can also crochet some for your treat bag. Continue reading for learning more about this pumpkin project!
Time to Learn How to Crochet An Amigurumi Tiered Pumpkin Set
This tutorial shows you how to crochet a pumpkin with a witch hat. You start with orange yarn to make a round ball. You fill the ball with stuffing. Then, you use a needle and yarn to pull tight lines around the ball to make segments.
You make a small brown stem and glue it on top. Use black thread to sew eyes and a mouth. Finally, you use purple and black yarn to make a tall hat. You put the hat on the pumpkin.
Difficulty Level: Beginner
This project is easy because it uses simple stitches and basic shapes. The rounds are small and easy to count.
Materials Used
-
5ply Milk Cotton yarn
-
2.5 mm crochet hook
-
Glue
-
Sewing needle
-
Scissors
-
Stuffing
Abbreviations
-
R: round/row
-
Ch: chain
-
mr: magic ring
-
st: stitch
-
sc: single crochet
-
inc: increase
-
dec: decrease
-
dc: double crochet
-
hdc: half double crochet
-
slst: slip stitch
-
FLO: front loop only
-
BLO: back loop only
Stitch Guide
-
Half Double Crochet (hdc): Wrap the yarn over the hook. Put the hook into the stitch. Wrap the yarn and pull it through. You now have three loops on your hook. Wrap the yarn again and pull it through all three loops.
Learn to Crochet the Bat Plush
Better learn the whole method of crocheting this amigurumi tiered pumpkin in this tutorial:
Written Pattern?
Now, following a video pattern is easier than ever, you can use the “ask” feature of the tutorial to retrieve the quick pattern for this crochet set of pumpkins. This pattern-getting method is designer-compliant!
Share on Social Media, Please!